This restoration started with a free find on Facebook Marketplace, a solid mahogany dining table.
At first, I thought it was just another old table… until I picked it up. It was the heaviest table I’ve ever lifted. That’s when I knew it was solid mahogany and probably much older than I expected.
Underneath, I found a Joseph Fitter table extender mechanism, which were crafted between 1861 and 1901. Unfortunately, it was missing the leaves and the hand crank, but the underside spinning tube mechanism was still there, a cool piece of craftsmanship history.
Originally, my plan was to use the tabletop for a dresser project, but once I saw its potential, I changed course and decided to save it! Let me show you the restoration process.
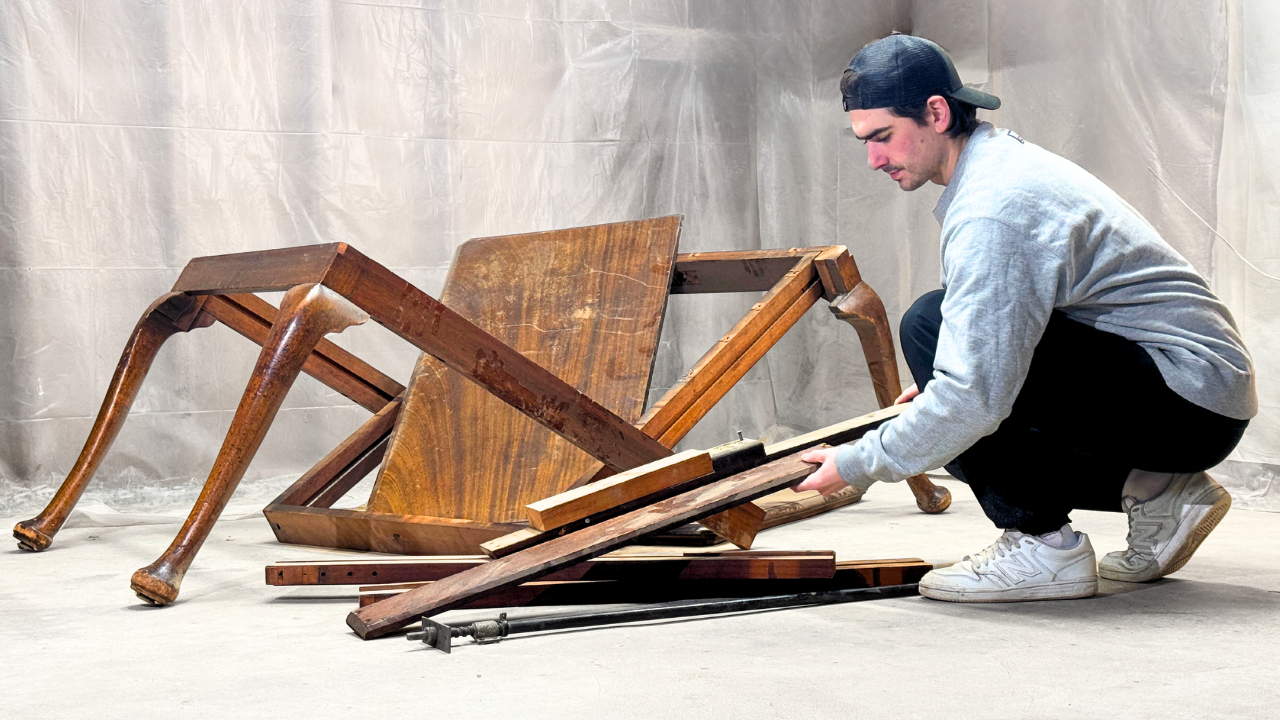
Step 1: Disassembly
I completely took the table apart, partly because of my original plan to repurpose it into a dresser top, but also because breaking it down made repairs and refinishing easier.
Step 2: Gluing Damaged Pieces
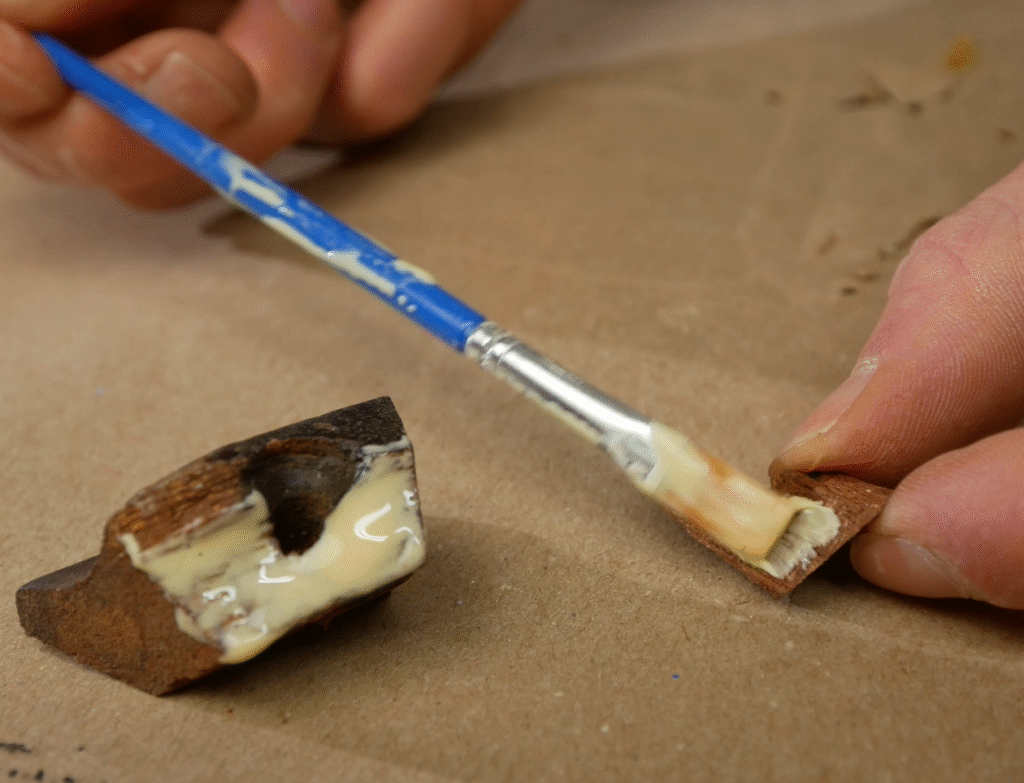
Under the tabletop, one piece of trim had chipped and a few cracked areas. I glued the loose sections and clamped them securely. For areas that needed more strength and had missing sections, I used PC Woody two-part epoxy to fill the damages.
Step 3: Scraping & Sanding Away the Old Finish
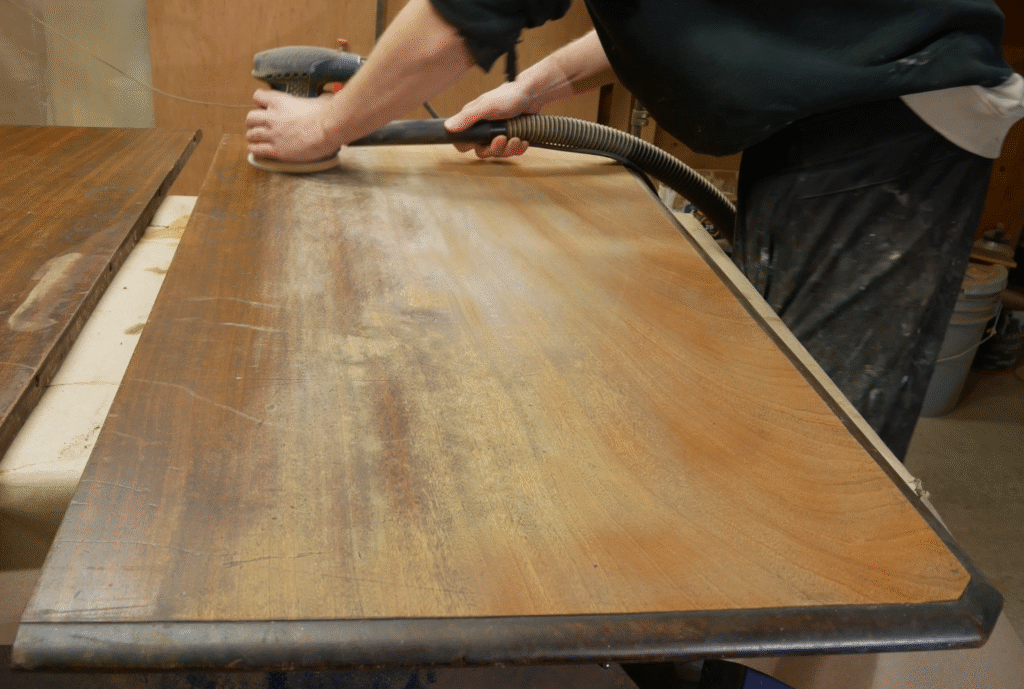
I started with the bottom, where decades of grime had built up. It was… gross. After that, I cleaned the top with Krud Kutter degreaser to remove residue before sanding. I began sanding with 80 grit to strip the old finish and smooth out imperfections.
Step 4: Attempting to Flatten the Warp
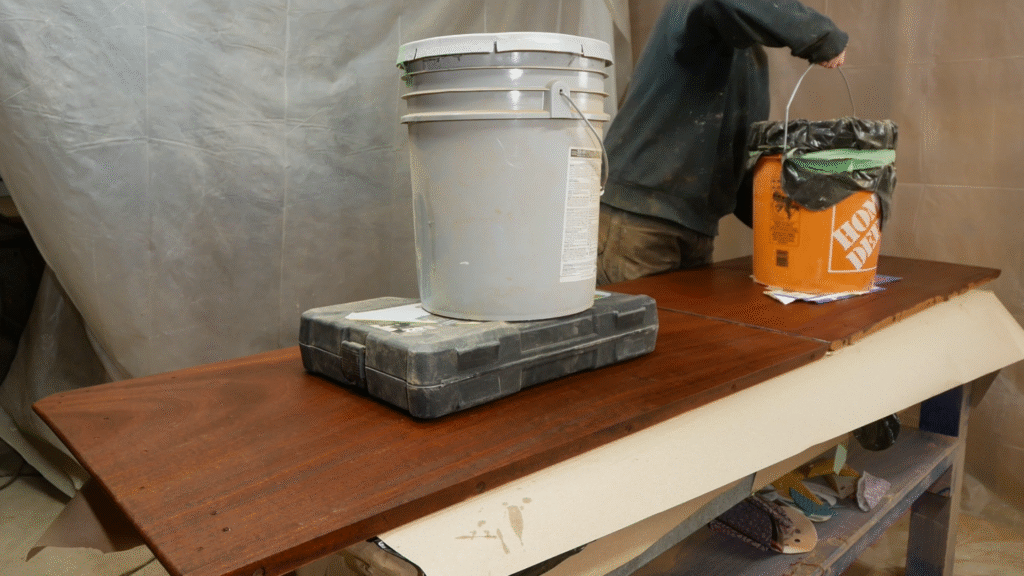
The tabletop had a slight warp. I tried wetting one side and adding weight to bend it back. It helped a little, but with wood this old (potentially 300 years!), there’s only so much you can do.
Step 5: Sanding to a Polished Finish
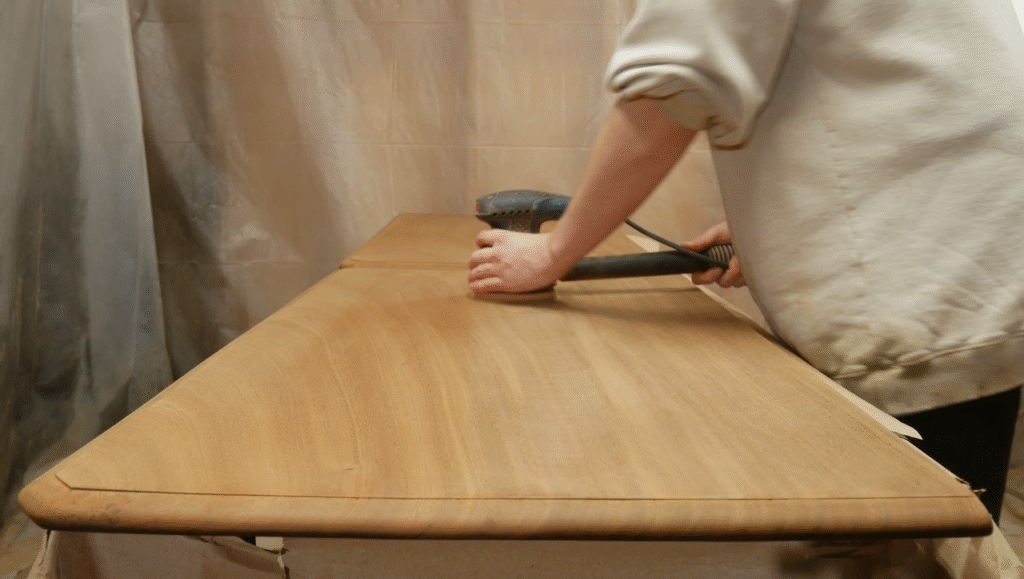
On the legs and apron, I sanded up to 220 grit. But for the top, I went all the way up to 600 grit to give the mahogany an extra-polished surface that would really glow under a hardwax oil finish, well I hoped!
Step 6: First Coat of Odie’s Dark Oil
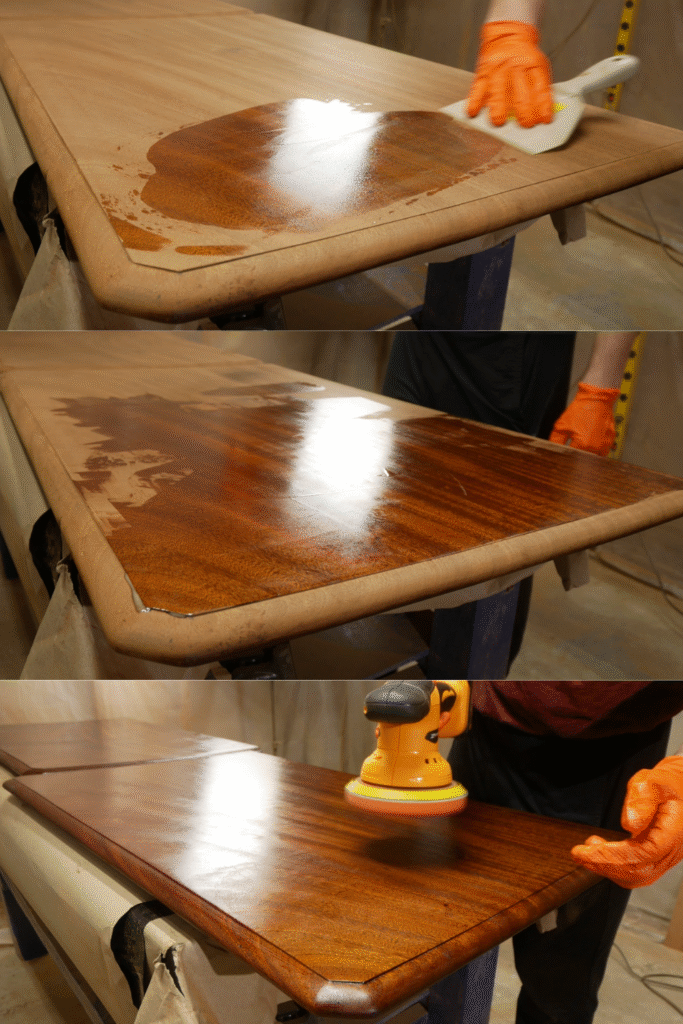
For the first coat, I experimented by applying the oil with a cordless car polisher. It worked… okay, but I switched to a 3M Scotch-Brite pad for an easier application.
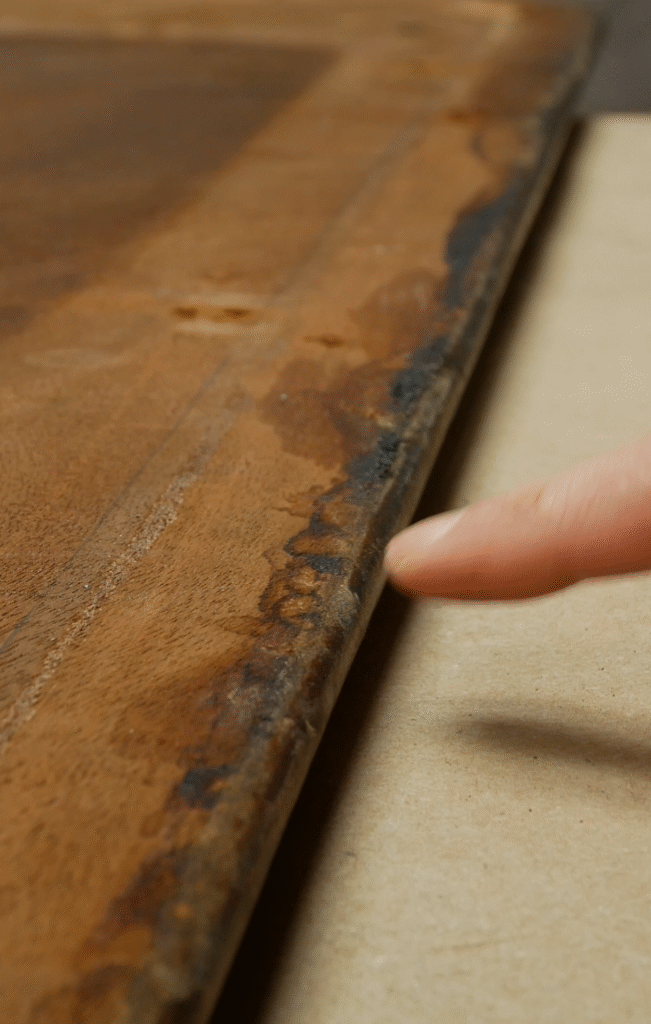
Step 7: Color Matching the Epoxy
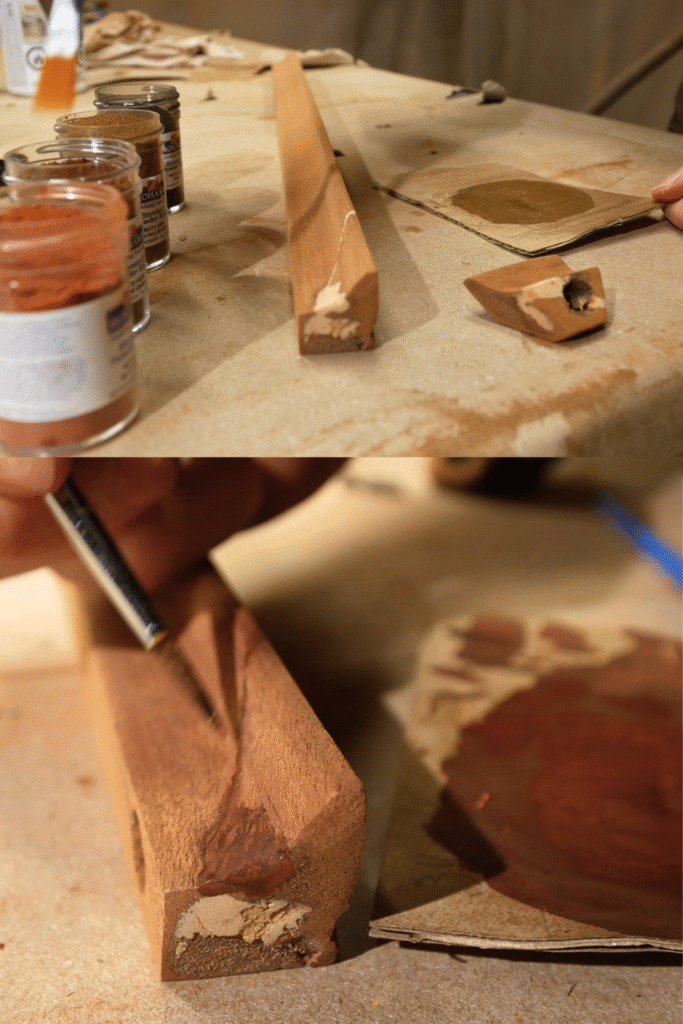
Some epoxy areas stood out lighter than the surrounding mahogany. To fix this, I used Mohawk Blendal powder stains mixed with shellac, applying the mix with a fine brush to blend perfectly with the wood’s dark tones.
Step 8: Repairing a Broken Support
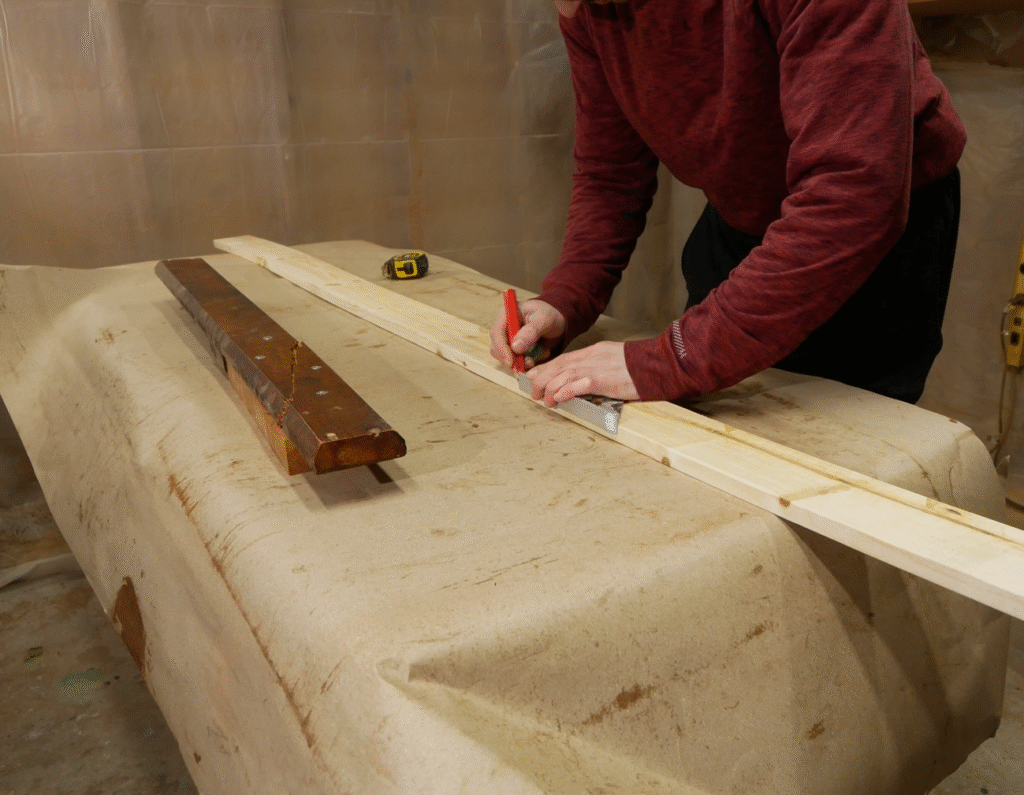
One of the two underside support braces had minor woodworm damage but was snapped completely. I replaced it with a new solid wood brace for strength and stability. I color matched the wood with a few General Finishes water-based stains.
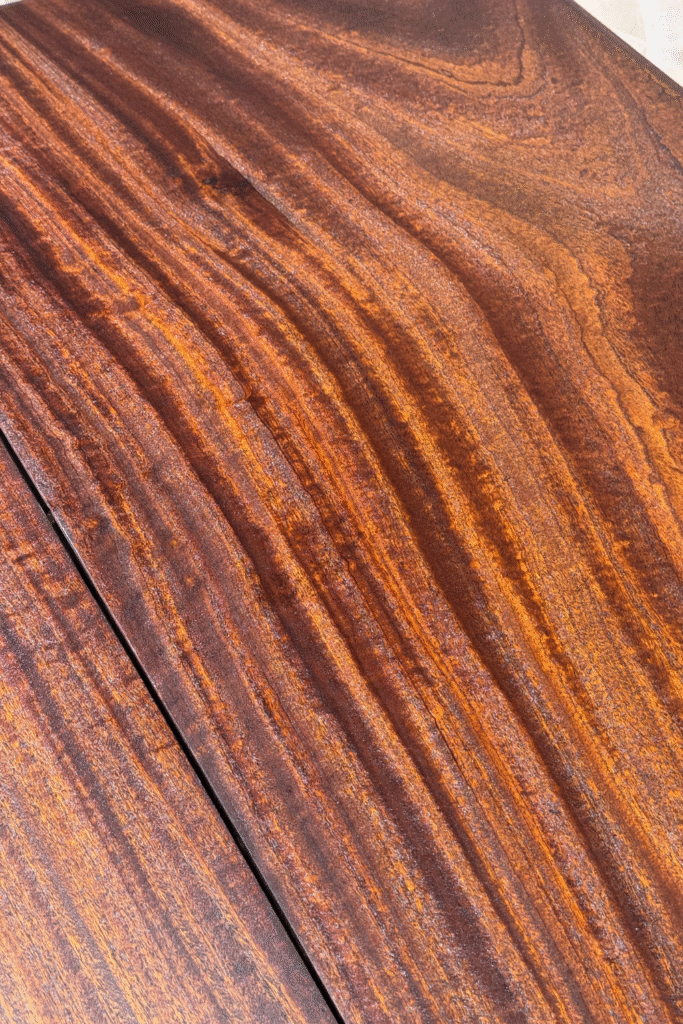
Step 9: Second Coat of Odie’s Dark Oil
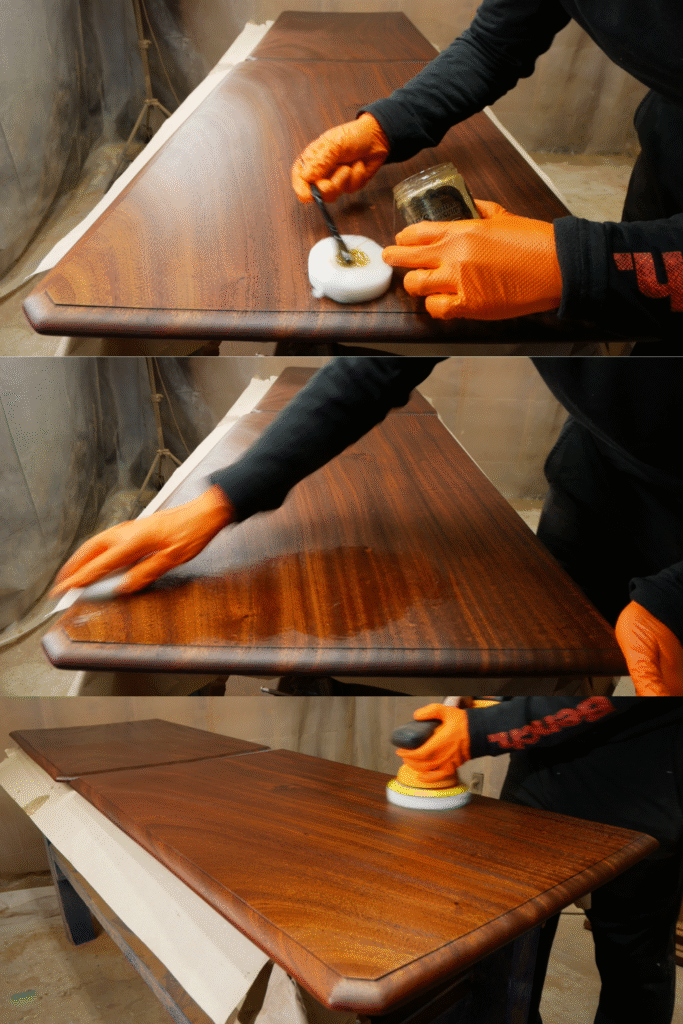
This time, I applied the oil with 3M polishing pads, which made the process smoother and the buffing easier. The result was incredible, the mahogany’s chatoyancy (that shimmering, moving effect in the grain) came alive. I buffed it with the cordless car polisher but attached the white 3m polishing pad and it worked so good!
With Odie’s Oil, you wipe it on, let it sit for 30 mins to an hour, and then buff away all excess for a smooth, durable finish.
Step 10: Cleaning the Hardware & Screws
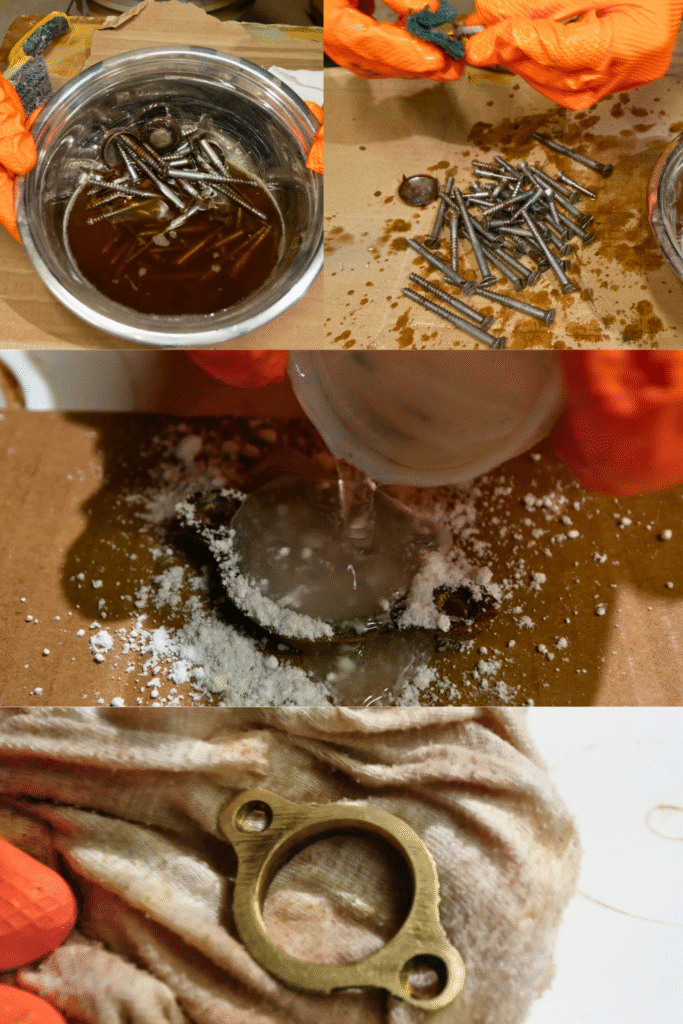
The brass hardware ring on the table extender mechanism was cleaned with Bar Keepers Friend, it was shiny after! The original screws were de-rusted with a rust remover, bringing them back to life without replacing them.
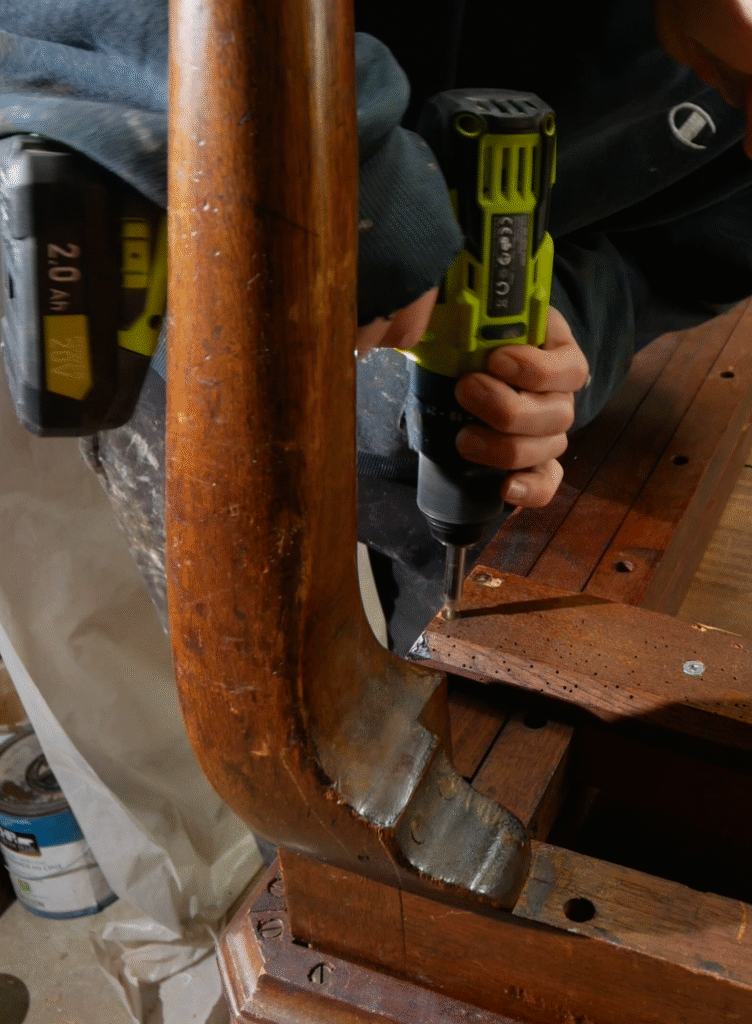
Step 11: Reassembly
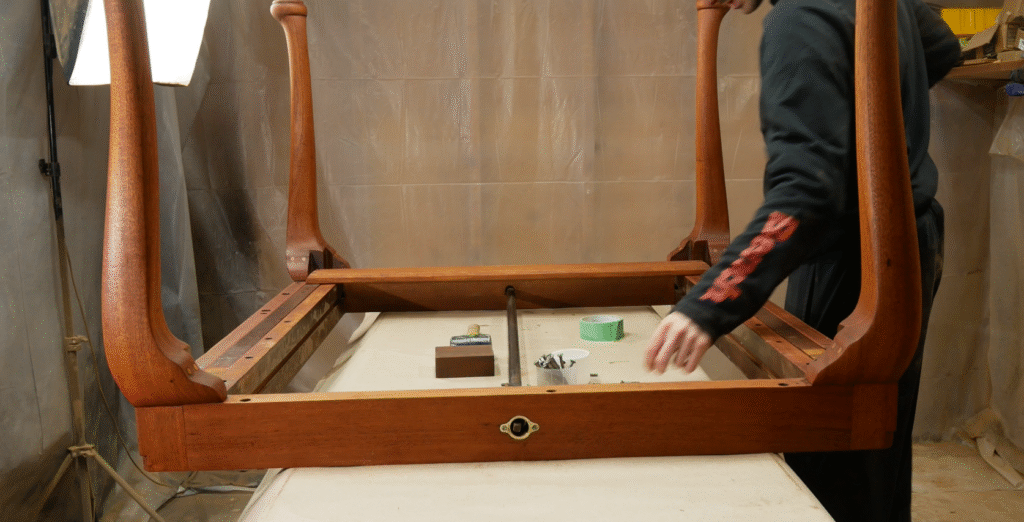
Reassembling this table was actually a challenge, there were a lot of parts to keep track of, and they were heavy! Doing it solo was hard to hold the aprons in place to connect them lol. But once it was all together, it was sturdy, functional, and looked incredible.
🛠️ Products Used in This Restoration
These are the tools and products I used throughout the project (includes affiliate links):
-
Odie’s Dark Oil – Hardwax oil finish for depth, durability, and stunning chatoyancy
-
Cordless Car Buffer Polisher – Tested for applying the first coat of oil
-
BOSCH Random Orbital Sander – For stripping and smoothing surfaces
-
Titebond II Wood Glue – Strong adhesive for wood repairs
-
Olfa Utility Knife – For precise trimming and cleanup
-
3M Sanding Mesh – Reusable sanding mesh for smooth results
-
Sandpaper (Various Grits) – From 80 to 600 grit for prep and polishing
-
3M Performance Paint Project Respirator – Protection during sanding and finishing
-
Bar Keepers Friend – For cleaning brass hardware
-
Mohawk Blendal Powder Stains – Used for color-matching repairs
-
Shellac Spray – Mixed with powder stains for touch-ups
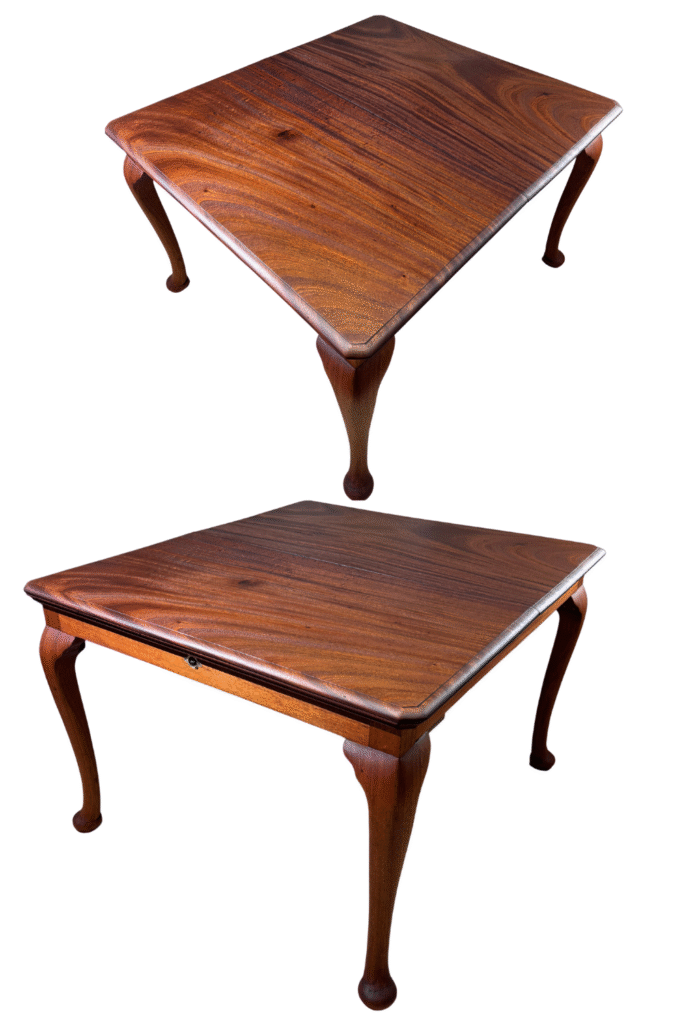
The Reveal!

🎥 Watch the Full Restoration on YouTube
After repairs, sanding, oiling, and reassembly, the restoration was worth every step. The mahogany now glows with a rich, deep color, and this once-neglected table is ready for another century of use.
This is one of those projects that reminded me: sometimes a piece you almost give up on ends up being one of the most rewarding saves.

