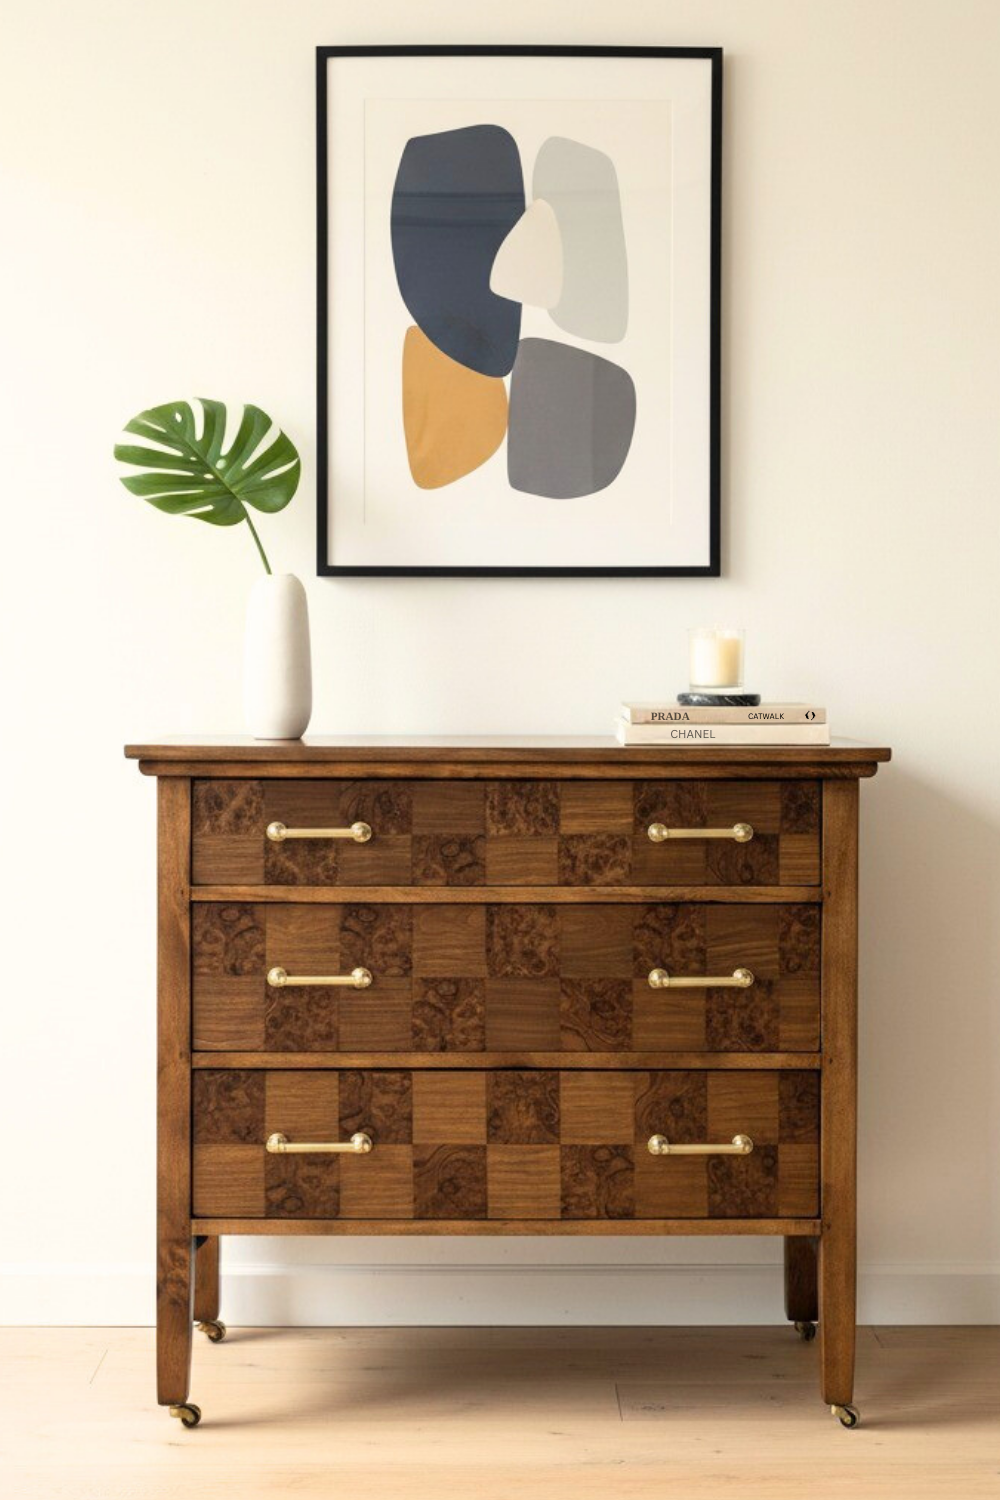
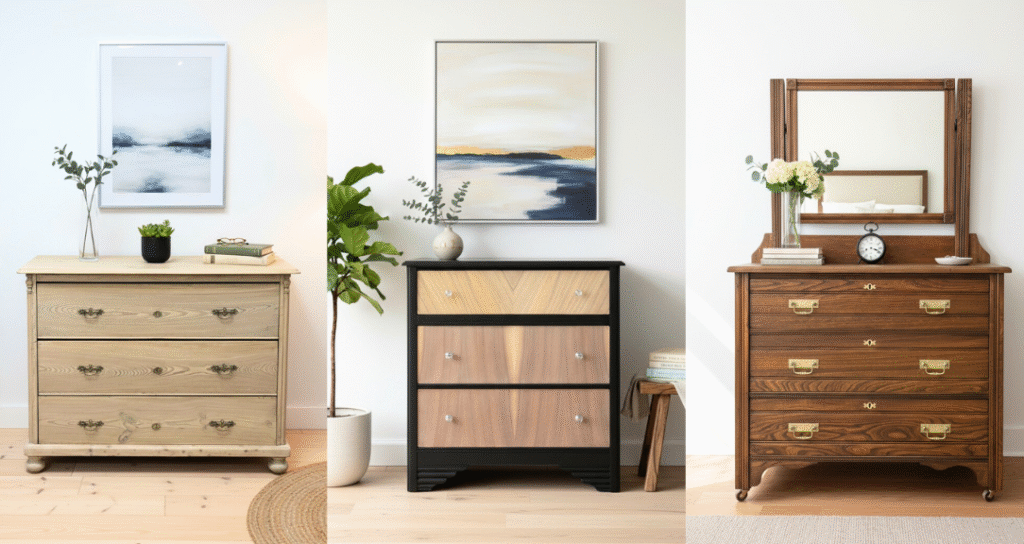
When it comes to refinishing furniture, the first step is deciding what you want to achieve. There isn’t just one way to refinish a piece, it’s like art, with endless possibilities. You might choose to paint it, bring back a natural wood look, or even mix the two by leaving some areas painted and others natural.
Refinishing is different from restoration. Restoration often focuses on structural repairs and making a piece look as close as possible to its original design. Refinishing, on the other hand, gives you creative freedom. It’s about refreshing and updating old, dated furniture by following a few simple steps to bring it back to life.
In this beginner’s guide, I’ll walk you through everything you need to know about how to refinish wood furniture. From cleaning and sanding to painting, staining, and sealing, so you can confidently tackle your first project.
Tools & Supplies You Need to Start Furniture Refinishing
Before you start refinishing furniture, it’s important to have the right tools and supplies on hand. You don’t need every fancy gadget out there, just a basic set of reliable items that will help you clean, strip, sand, repair, and refinish your piece.
Here’s a beginner-friendly list of what you’ll need:
1. Cleaner (Degreaser)
Before doing anything, you’ll want to clean the piece thoroughly. Products like Krud Kutter, Simple Green, or even a Dawn and water mix work great. A good cleaner removes dirt, grease, and residue so your paint or stain sticks properly and doesn’t fail later in the process.
2. Sander + Sandpaper
A random orbital sander or a simple sanding block is great for stripping away old finishes and prepping wood for a new fresh look. Keep a range of sandpaper grits on hand: 60-80 for heavy removal, 120–180 for smoothing, and 220+ for finishing. Sanding also helps erase small imperfections and gives you a smooth base to work with and to give that professional-looking finish.
3. Hand Tools
Basic hand tools like screwdrivers, hammers, pliers, and clamps always come in handy for furniture projects. They’re great for disassembly, tightening loose joints, or making quick fixes. One of my favorite hand tools is the carbide scraper, it’s unbeatable for removing stubborn old finishes when sanding or stripper just isn’t enough.
4. Paint Stripper
Sometimes sanding alone won’t cut it, especially with thick paint or varnish. Also sanding veneer is dangerious, as you can sand right through the thin wood layer ruining the look. That’s when a paint stripper comes in. A good stripper saves time and effort by softening layers so they scrape away easily. DON’T use citristrip… find a reputable brand locally. I like Circa 1850 where I live in Canada, works great.
5. Safety Equipment
Don’t forget safety gear! Refinishing involves dust, fumes, and chemicals, so goggles, a respirator or dust mask, disposable gloves, and even ear protection are must-haves. Protecting yourself is just as important as protecting the furniture. I recommend my safety guide mini course in The Furniture Squad community.
6. Wood Fillers
Wood filler is a lifesaver when it comes to repairing scratches, dents, chips, or old hardware holes. Water-based fillers are easy to work with and sand smooth, while Bondo or epoxy-based fillers are stronger for deep repairs and do not shrink or expand with time. Having a few options on hand means you’ll always be ready to fix damage before finishing.
7. Paints, Stains & Finishes
This is the fun part, adding color and protection. If you’re painting, start with a shellac-based primer like Zinsser BIN. It sticks well, blocks stains, and prevents bleed-through. For the topcoat, I recommend using a good-quality furniture paint instead of regular wall paint since it’s designed to handle wear and tear.
When it comes to stains, you’ve got options: water-based, oil-based, liquid, or gel. They all work, but my go-to favorites are General Finishes gel stains and water-based stains. If you prefer the natural look, you can skip stain altogether and just apply a clear finish, it’ll still enhance the beauty of the wood.
For finishes, water-based polyurethane is the best choice if you want to avoid yellowing. Oil-based poly is tougher but tends to add a warm, amber tone. Both can be applied over wood or painted surfaces. Other popular finishes include shellac, hardwax oils, and lacquer. If you’d like to dive deeper into the differences between them, I cover everything step by step in my Furniture Finishes Course inside The Furniture Squad.
And don’t forget about waxes, they’re great for adding a soft sheen on top of finishes and for refreshing the inside of drawers. A simple coat of wax can make old, tired wood feel brand new again.
A Step-by-Step Furniture Refinishing Process
Step 1: Clean
The first step in any refinishing project is cleaning. Wipe the entire piece down with a degreaser like Krud Kutter or a simple soap-and-water mix. This removes dirt, oils, and residue that could cause paint or stain to peel later. Even furniture that looks clean often has hidden grime, so don’t skip this step.
This prep work step is a good time to remove hardware like drawer pulls. Also, do an inspection of the piece to check for minor damages or structural issues to know what’s required for the project. Sometimes you need to order materials to fix damages and knowing sooner is better than later, trust me.
Step 2: Strip (if needed)
If your piece has thick layers of old paint or varnish, sanding alone may be a challenge. That’s when a paint stripper comes in handy. Apply the stripper according to directions, let it work, and then scrape away the softened finish. Veneer pieces especially benefit from this approach since aggressive sanding can easily burn right through the thin wood layer. Stripping isn’t always necessary, but it can save time and protect delicate surfaces.
Remember to wear proper equipment like goggles and respirator, plus work in a well-ventilated space.
Step 3: Repair (if needed)
Before smooth sanding and finishing, inspect the furniture for any damage. Tighten loose joints, glue cracks, and patch dents or missing veneer with wood, wood filler, or epoxy/bondo. Taking the time to make these repairs ensures your piece is sturdy and ready to last for years to come.
Step 4: Sanding
Once your piece is clean, stripped (if needed), and repaired, it’s time to sand. Sanding smooths out the surface, removes any leftover finish, and preps the wood for paint or stain.
A random orbital sander is the best tool for most projects since it can move in any direction without leaving noticeable swirl marks. If you’re sanding by hand or using a finishing sander, always go with the grain to avoid scratching the wood.
For solid wood, sanding is less risky. You can start with 80–100 grit to remove old finish, move up through 120–150, and finish with 180–220+ for a smooth surface. Solid wood gives you more room to work without worrying about sanding too deep.
With veneer, things get trickier. Veneer is just a very thin layer of real wood glued to the surface, and coarse grits can burn right through it in seconds. For veneer, I recommend starting no lower than 150 grit and sanding carefully. If you sand through, you’ll likely need to repair or patch the veneer, which is more of an intermediate refinishing skill.
Step 5: Prime & Paint or Stain
Now comes the transformation. If painting, apply a quality primer to help the paint stick and block stains from bleeding through. BIN shellac is a great primer as I mentioned before, also an oil-based spray primer works too such as Rust-Oleium spray primers. When priming, avoid white primer under dark paints, its best to tint the primer to simialr color as your paint as if it chips its not extremely noticable.
For staining, prep the surface by sanding to a fine grit (220 grit) and wiping it clean for even absorption. You can choose to paint, stain, or even combine the two for a custom look. This is where creativity can take over!
There are many application techniques for each of these. Choose to brush, spray, or use a foam applicator pad.
Step 6: Apply a Topcoat for Protection
The last step is protecting your hard work. A topcoat adds durability and shields the surface from scratches, moisture, and everyday wear. Polyurethane (water- or oil-based), shellac, lacquer, and wax are all common options, each offering different levels of protection and sheen. Choose the finish that best fits the style and durability you want for your piece.
Furniture Flipping & Refinishing Beginner Tips
Safety First
Safety is always the top priority. Wear protective gear like goggles, gloves, and a respirator, and make sure your workspace is well-ventilated. Never push yourself to use tools you’re not comfortable with, learn at your own pace. Taking things slow is better than rushing and risking injury.
I recommend watching and learning on YouTube, but if possible have someone in person teach you how to use larger tools so you can get a real hands on learning experience.
Start Small
Don’t begin with a huge dining set or a family heirloom. Instead, practice on smaller, inexpensive projects like a nightstand, side table, or chair. These pieces will help you learn the basics of cleaning, sanding, painting, and finishing without overwhelming you. Facebook marketplace often has people tossing items out all the time, jump on them and test your skills!
Be Patient
Refinishing takes time, and mistakes are part of the process. Each project teaches you something new. Don’t get discouraged if things don’t turn out perfect, that’s how you grow your skills and find your style. I have been refinshing for over 7 years and still have projects where I try new things, it’s far from rare.
Invest in the Basics
You don’t need a shop full of tools to get started. A sander, scraper, good sandpaper, wood filler, and some paint or stain will take you a long way. Add more advanced tools and products as your confidence builds!
My Thoughts on Antique Furniture
After many years of flipping furniture, I’ve come to really appreciate the art of restoration. The craftsmanship in antique furniture is unlike anything you’ll find today, solid wood, beautiful veneers, and joinery techniques like Knapp joints and hand-cut dovetails that speak to true skill.
One thing I always tell beginners: do some research before you refinish. Certain antiques can hold much more value if they’re restored rather than painted. A fresh coat of paint can sometimes lower the piece’s worth, while careful restoration can preserve or even increase it.
Of course, it’s your furniture and your decision, sometimes painting makes sense, especially if you’re creating a look you love. But it’s worth pausing to consider. I’ll never forget hearing the story of a woman who bought an antique table for $25 at a garage sale. Back in 1997, it was appraised at $200,000–$300,000. By 2012, the value had risen to $400,000–$600,000, and I can only imagine what it’s worth today. Imagine if it was painted or cut up for parts?
How to Make Even More Money Refinishing Furniture
Many people get into furniture refinishing as a side hustle, and I don’t blame you, that’s exactly how I started. There’s definitely money to be made flipping pieces. But here’s something a lot of beginners overlook: one of the biggest income opportunities doesn’t just come from selling furniture, it comes from sharing your journey online.
Posting your projects on Instagram, TikTok, Facebook, or YouTube can eventually turn into a full-time income stream. It takes patience, consistency, and a willingness to learn how social media works, but the payoff can be huge. You’re not just selling a piece of furniture, you’re building an audience, and that audience can bring in sponsorships, ad revenue, and other opportunities!
If this side of the journey interests you, I’d love to help. Join my community, The Furniture Squad, and message me directly, i’d love to help.

