This was a unique one.
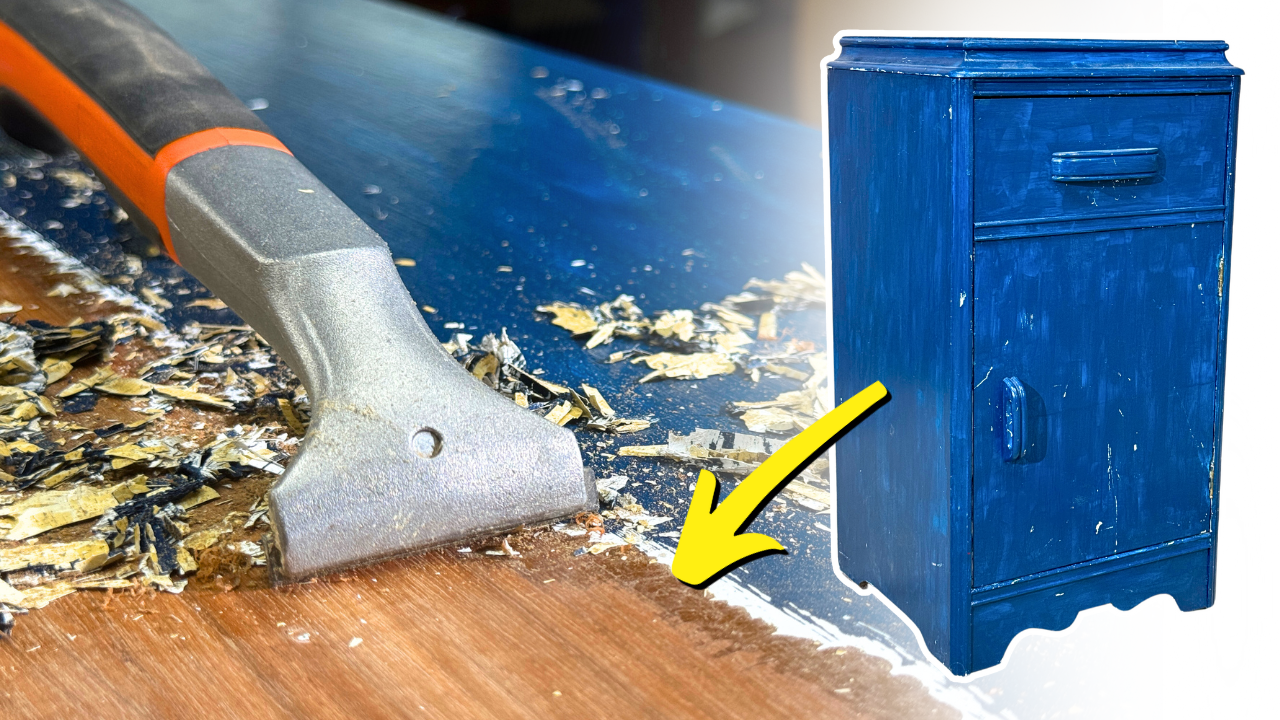
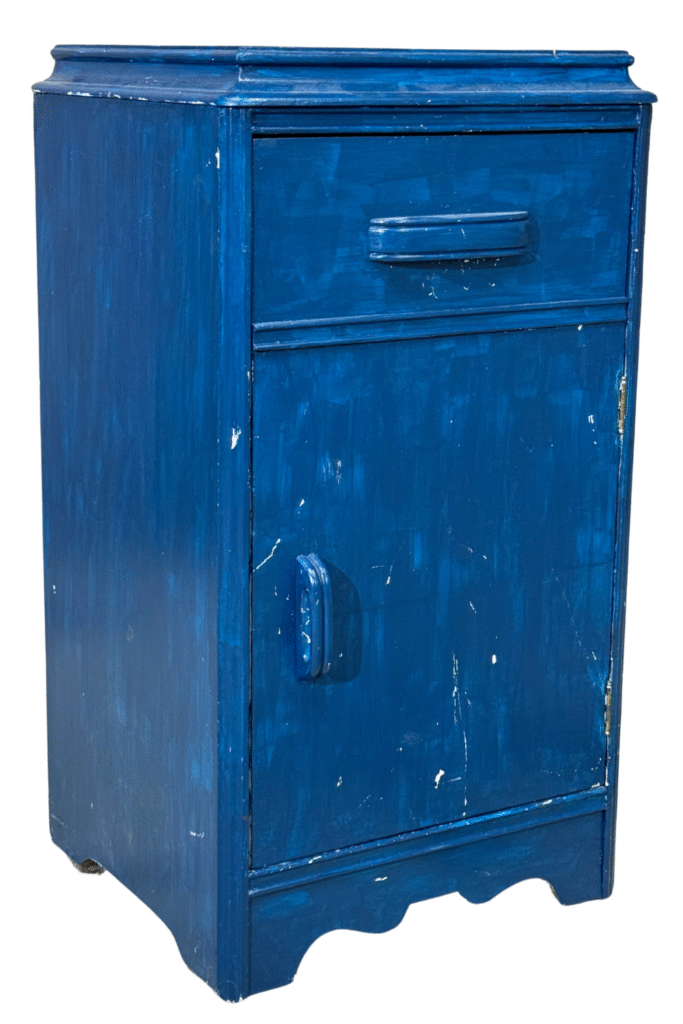
I took a vintage nightstand that was painted in thick blue paint and a cream primer, and decided to not only restore it, but experiment with a bit of modern design using my Creality Falcon2 Pro 40W laser. It’s a cool mix of old meets new, and the end result definitely turned some heads.
Getting the Project Started
First things first, I disassembled the piece to make things easier. A quick lead test on the paint came back clear, which meant I could safely move forward with the paint removal.
Step 1: Scraping Away Paint Layers
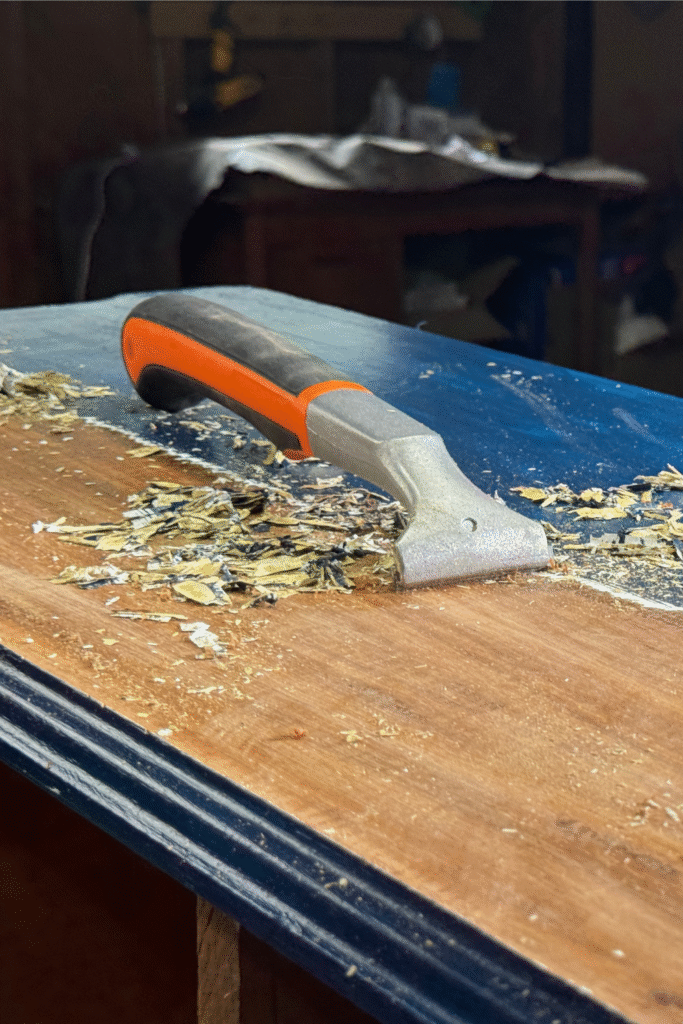
I started with my Bahco carbide scraper, removing the blue paint on top and the cream-colored primer underneath. I used a rounded-tip detail scraper to get into those curves around the top edges.
For the drawer pull area, I used a small bit of paint stripper to help lift the paint from the tight grooves, just enough to clean it up without damaging the wood underneath.
Step 2: Veneer Repairs & Patches
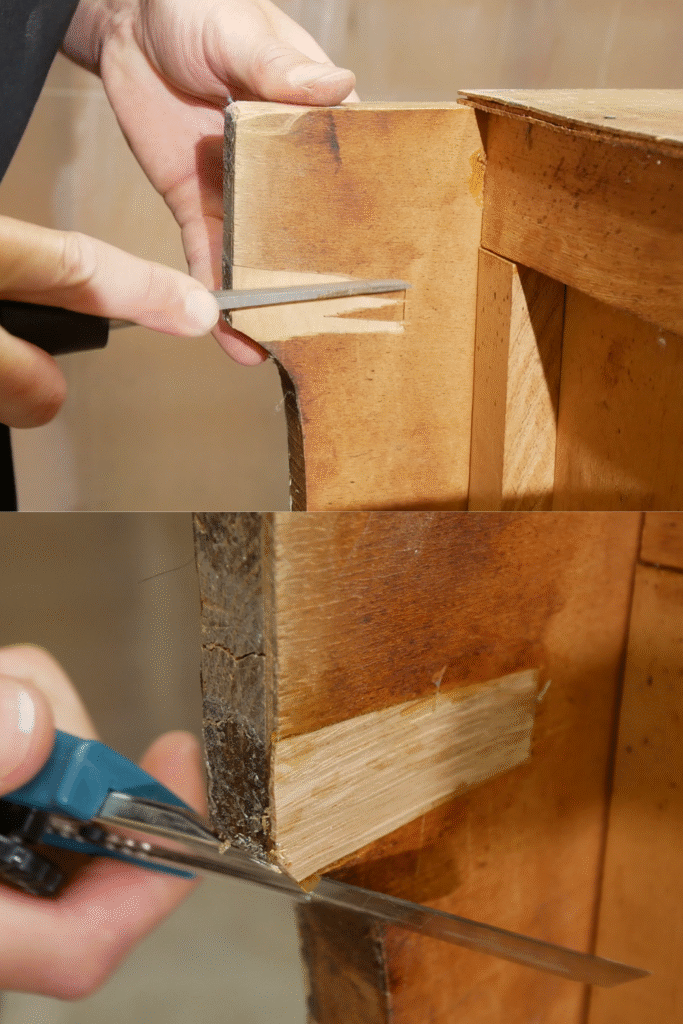
Along the bottom underside of the piece, I found some loose and missing veneer that needed some love. I carefully chiseled out damaged sections and glued in fresh veneer patches, just to make sure everything was secure and stable before moving forward.
These areas aren’t always visible, but reinforcing the structure adds life to the piece long-term!
Step 3: Paint Stripper in the Wood Grain
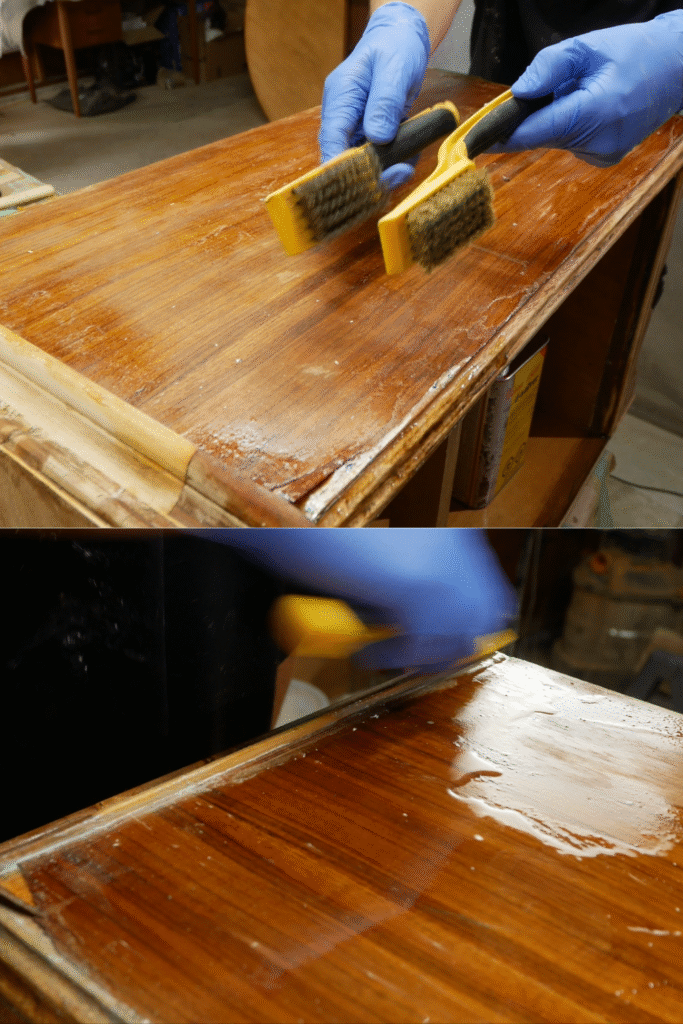
Even after scraping, paint was still deep in the wood grain, especially in areas with dings and dents. I used paint stripper and a wire brush to lift it out, working it into the grooves and open pores.
Before sanding, I also did a veneer glue-up on the upper left side of the right panel, it was damaged and needed to be replaced, then I clamped it down.
Step 4: Laser Cutting Custom Wood Shapes

Here’s where things got fun.
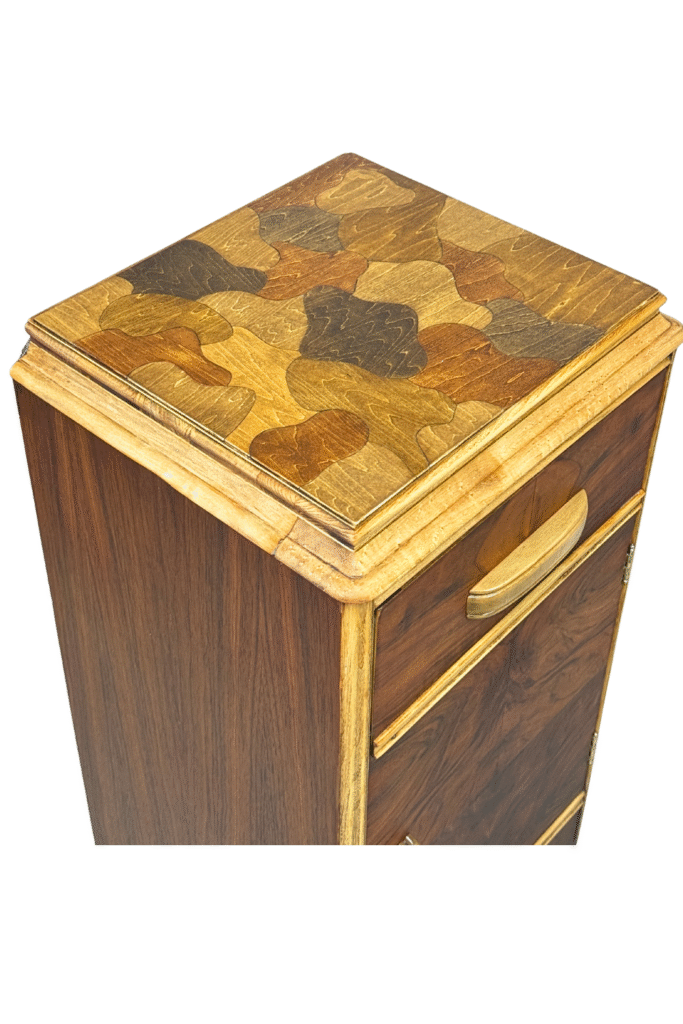
Using my Creality Falcon2 Pro 40W laser, I designed and cut a set of uniqueshape patches out of thin wood panels that came with my creality laser. These shapes were inspired by the American of Martinsville patchwork furniture, but done in my own way, this was really a test run to see what the laser could do!
They looked like random wooden globs, but once arranged, they gave off a really cool mid-century modern vibe.
Step 5: Gluing the Shapes to the Top
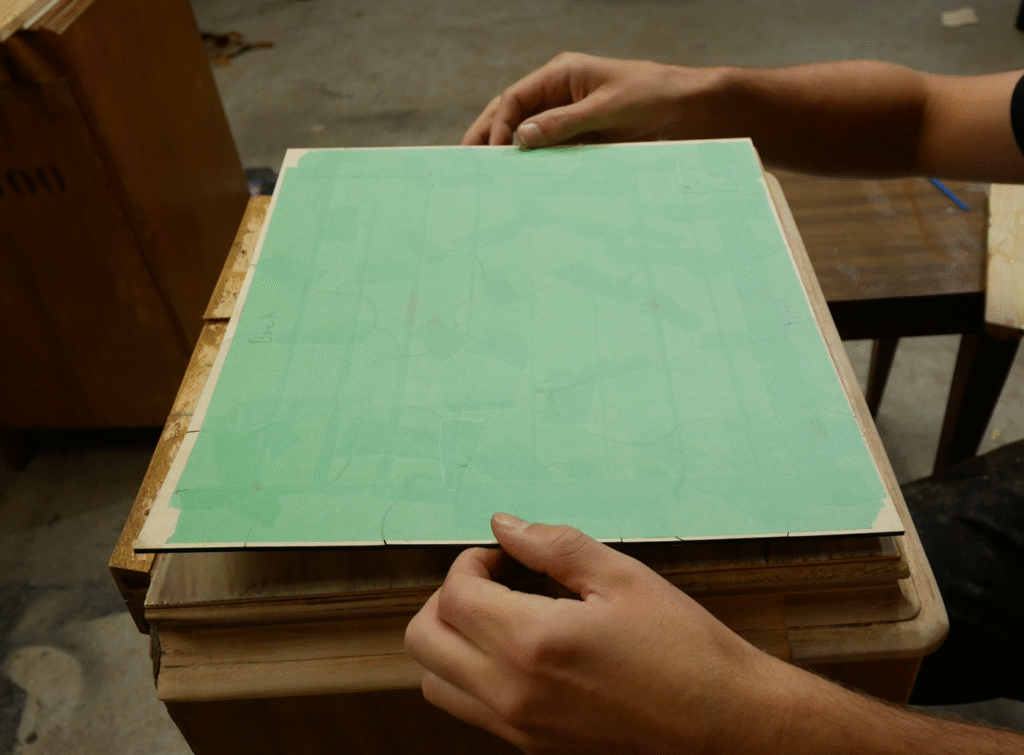
To install the patches, I taped the pieces together using painter’s tape to hold their shape, then applied Titebond II wood glue to the backs and to the nightstand top. I pressed them into place and used clamps to make sure of a good bond.
Step 6: Sanding Everything
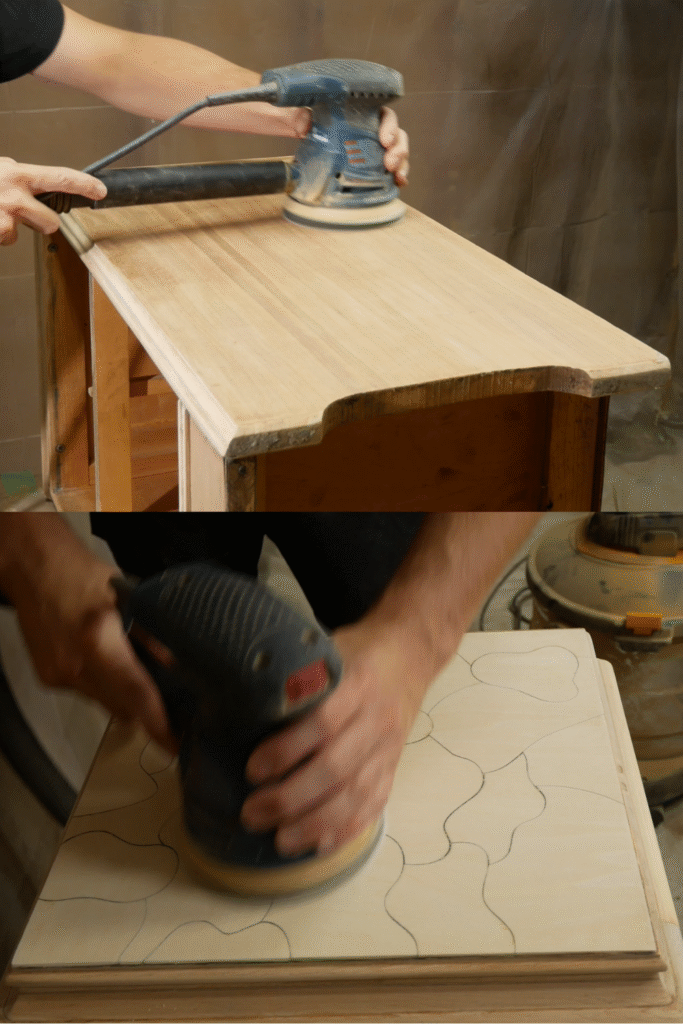
Once the glue dried, I peeled away the tape and began sanding the entire piece. I used 150 grit up to 220 grit, smoothing out the glued top patches and cleaning up any glue residue.
Everything was sanded flat, smooth, and ready for finish!
Step 7: Staining the Top Patches
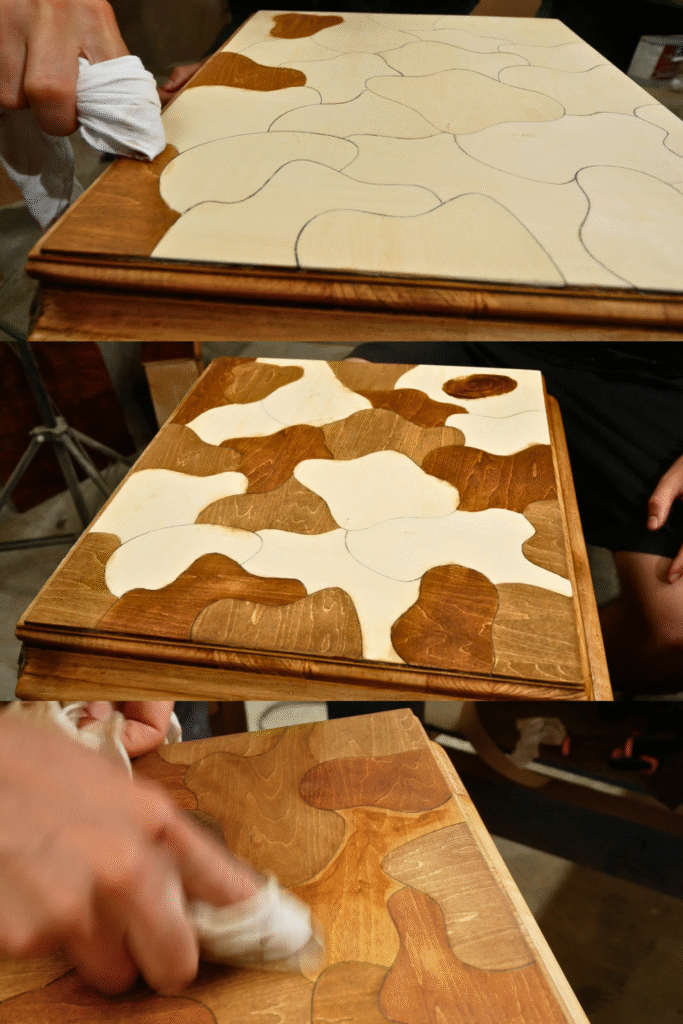
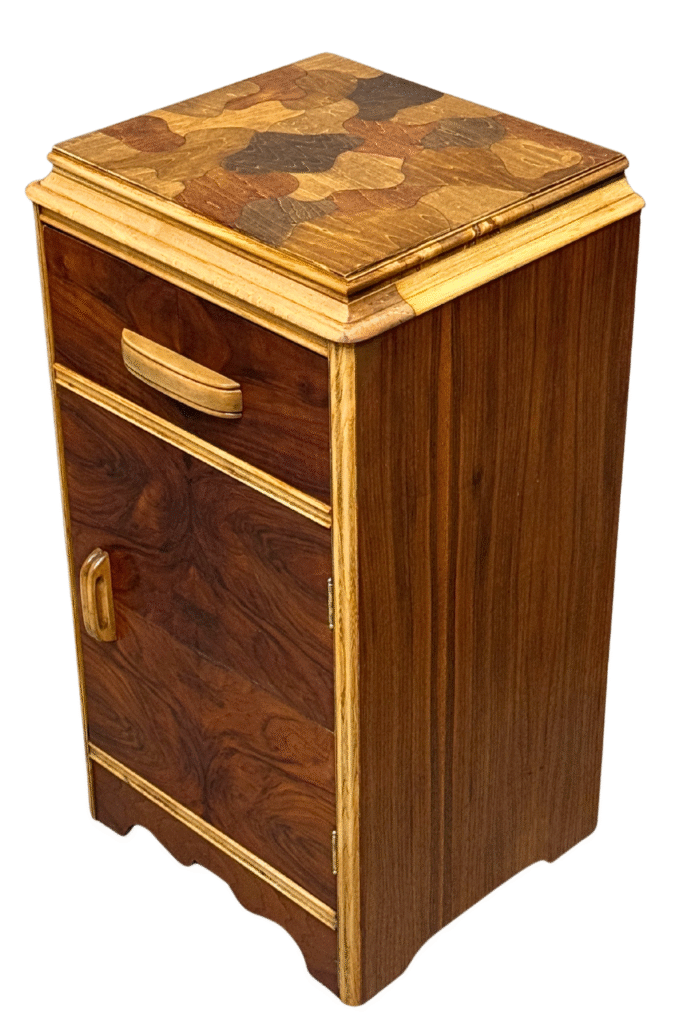
For a bit of contrast and character, I stained the laser-cut patches using four different shades of brown. The goal was to create the camo-style effect like the American of Martinsville patchwork design. I was making sure that no two touching shapes were the same color. It came out looking like a custom wood mosaic!
Step 8: Odies Oil on the Base
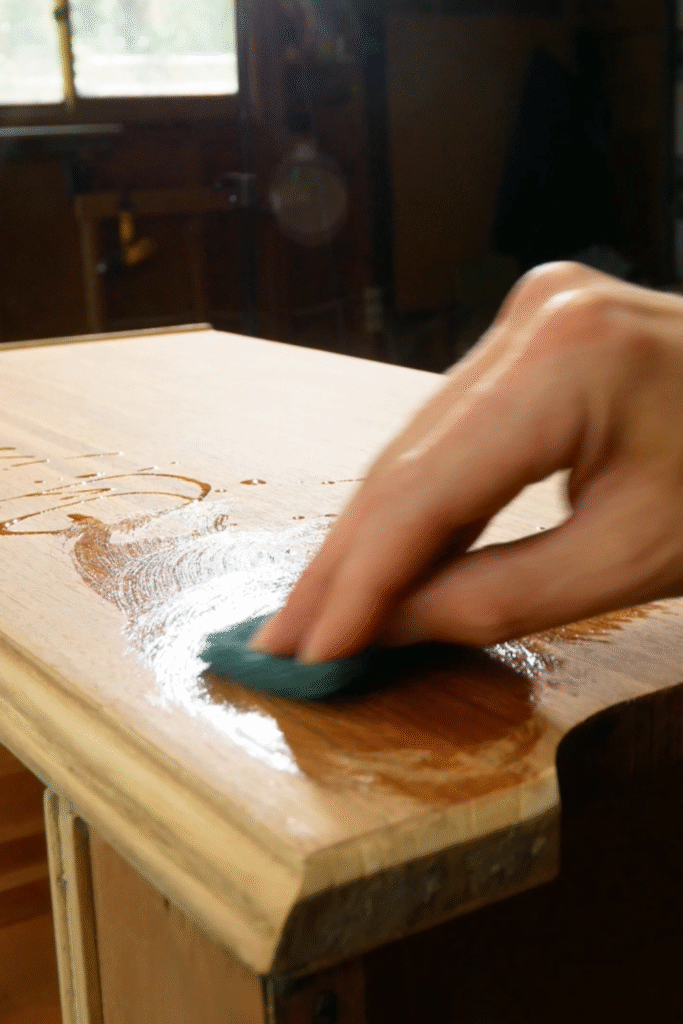
For the rest of the piece (besides the top), I applied Odie’s Oil. It brings out the natural grain, adds some depth to the color, and leaves a soft, hand-rubbed sheen.
Odie’s is great for vintage furniture because it’s easy to maintain and looks natural without building up a plastic-like layer.
Step 9: Spray Lacquer for the Top
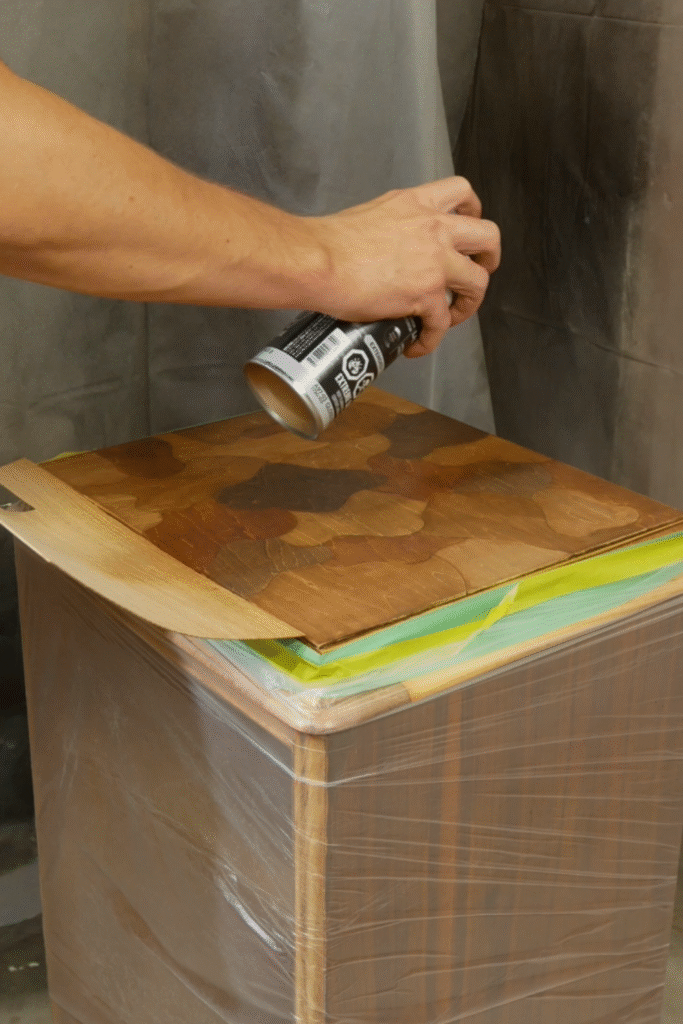
To finish off the top and protect the multi-stained patchwork, I used spray lacquer. A few coats later, it had a durable, sealed finish that let the stain colors shine without feeling overdone. I taped off the lower area so I made sure not to overspray lacquer down the sides.
🛠️ Products Used in This Restoration
Here are the tools and supplies I used for this project (includes affiliate links):
- Creality Falcon2 Pro 40W Laser – Used to laser-cut custom wood shapes for the top patchwork design
-
Bahco Carbide Scraper – My go-to tool for tough paint and finish removal
-
BOSCH Random Orbital Sander – Smooth and powerful for surface prep
-
Odie’s Dark Oil – Natural wood finish used on the body for depth and richness
-
Scotch Brite Pad – For applying oil finishes and gentle rubbing between coats
-
Titebond II Wood Glue – Strong, reliable wood glue used for veneer and patch repairs
-
Olfa Utility Knife – Handy for veneer trimming and cleanup
-
General Finishes Gel Stain – Rich tones with great control, used for patchwork top
-
Scraper Tool Set – Detail scrapers perfect for curves and tight spots
-
3M Sanding Mesh – 150 Grit – Great for reusable sanding in between coats
-
Assorted Sandpaper – For prep and final sanding
-
3M Performance Paint Project Respirator – Always use proper protection when stripping or finishing
The Final Reveal
🎥 Watch the Full Restoration on YouTube
Want to see the full step-by-step process, including the laser cutting and patchwork staining in action?

