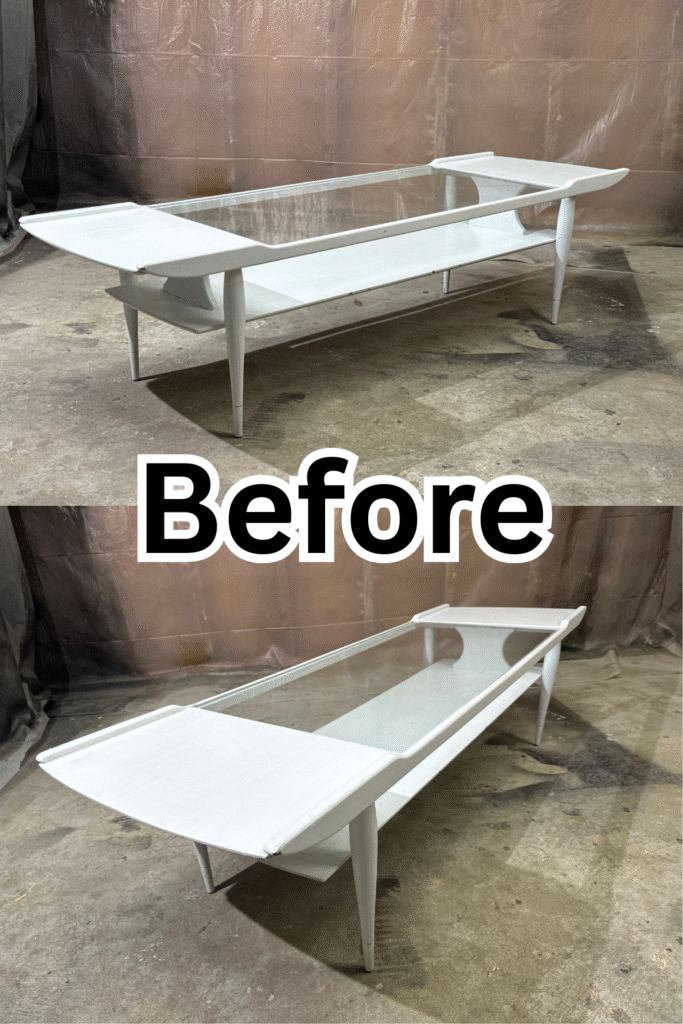
When I spotted this mid-century modern coffee table on Facebook Marketplace for $50, it was covered head-to-toe in white paint. But underneath, I could see the unique MCM design shining through. With its second-tier shelf and top level glass insert, I knew it would look amazing restored, so I hoped it was wood!
Here’s the full restoration process, enjoy!
Step 1: Disassembly
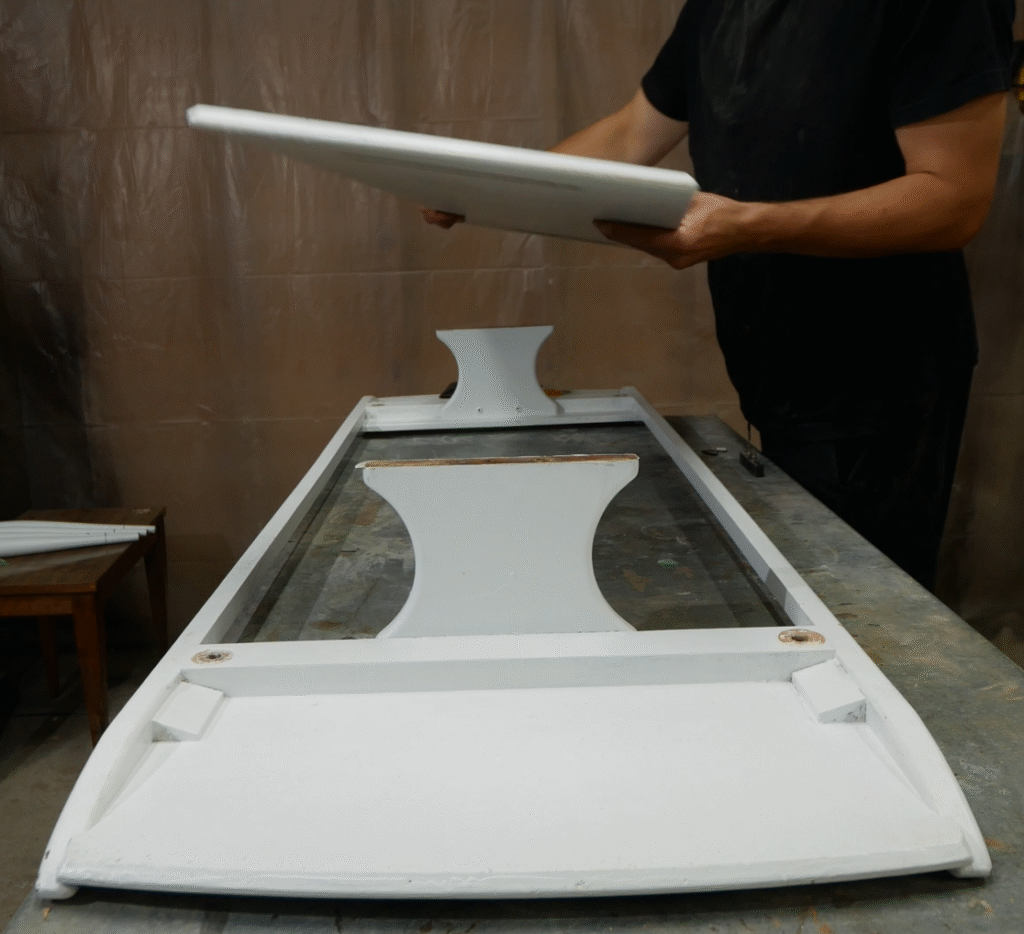
First things first, I carefully disassembled the table. The legs and lower tier came off, and I set aside the glass insert in a safe place to avoid damage. Before diving into stripping, I did a quick lead paint test and thankfully, it came back clear, so I could safely move forward.
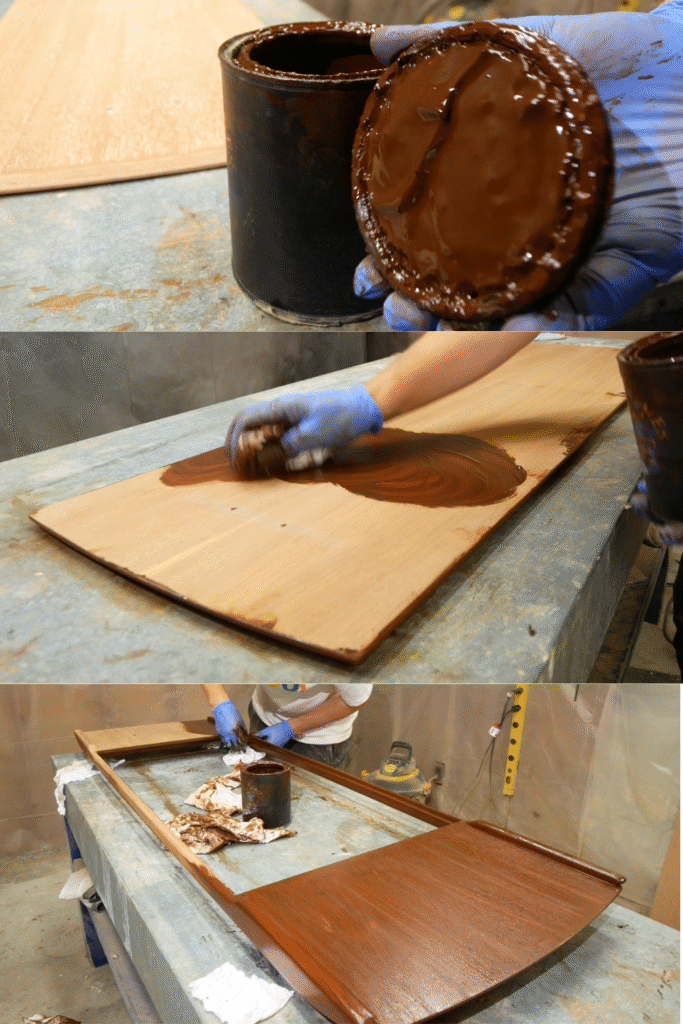
Step 2: Paint Stripping
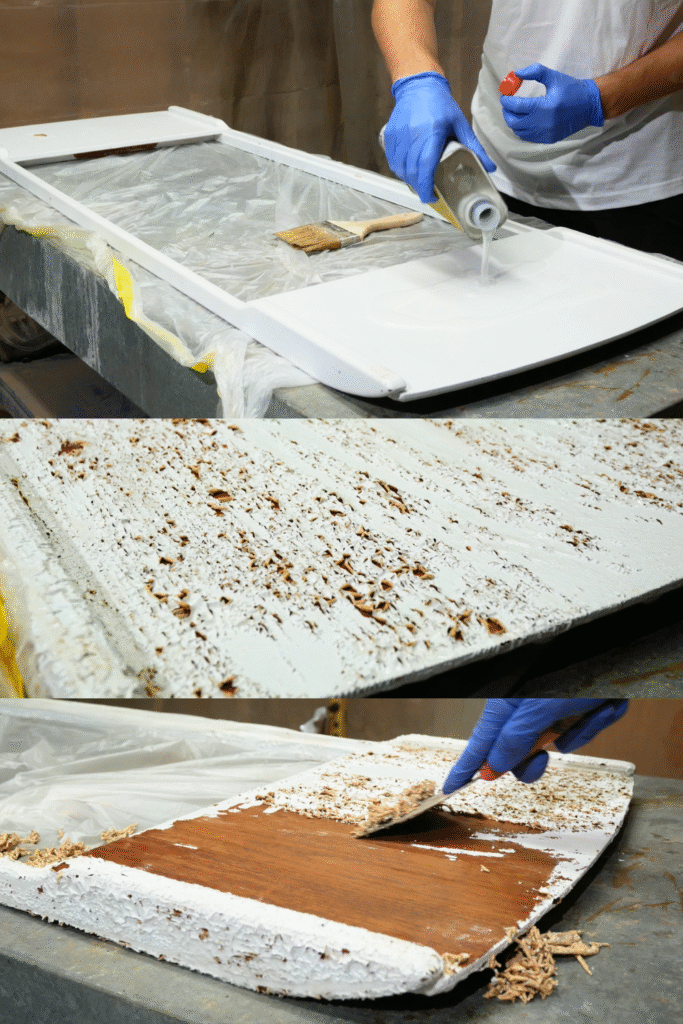
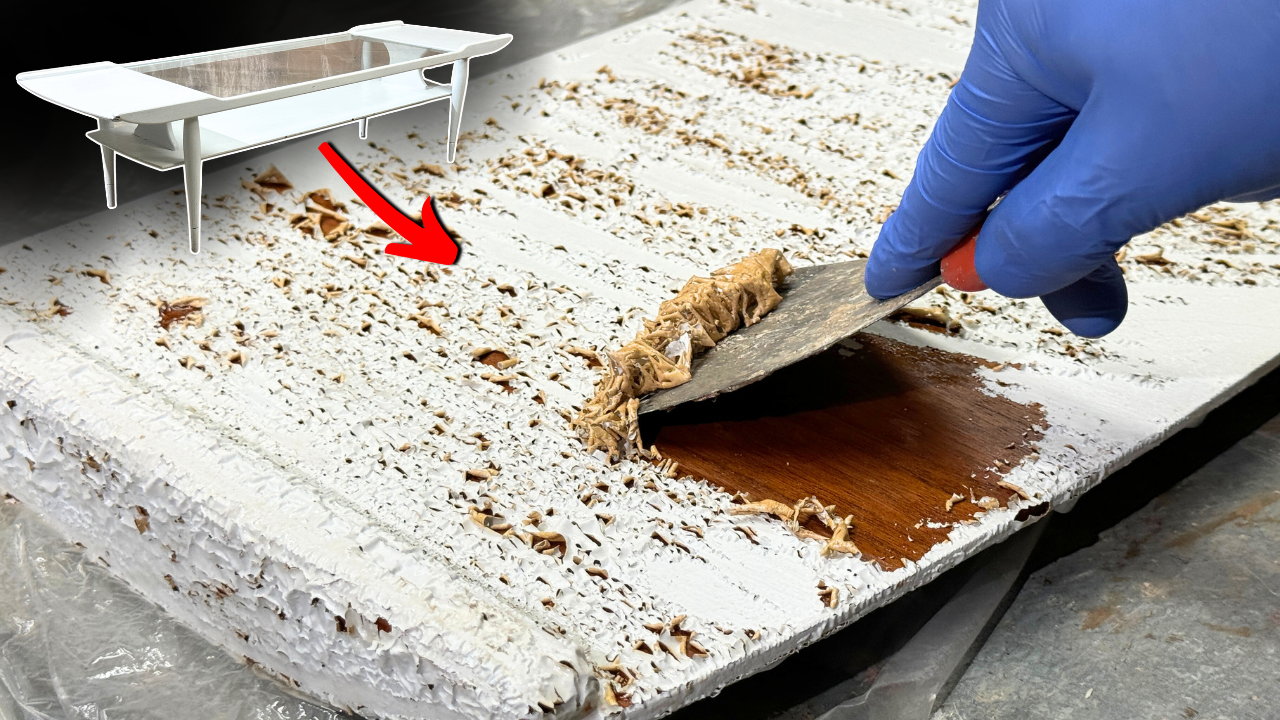
The stripping process started with Circa 1850 gel stripper to remove the thick white paint. Once the bulk was off, I switched to a liquid stripper to clean out the stubborn paint stuck in the grain and crevices.
A wire brush, mineral spirits, and steel wool pads helped scrub away residue. There was also a lot of paint picking by hand, especially in the corners and grooves. Stripping paint isn’t glamorous, but it’s satisfying watching the walnut finally emerge.
Step 3: Sanding the Wood
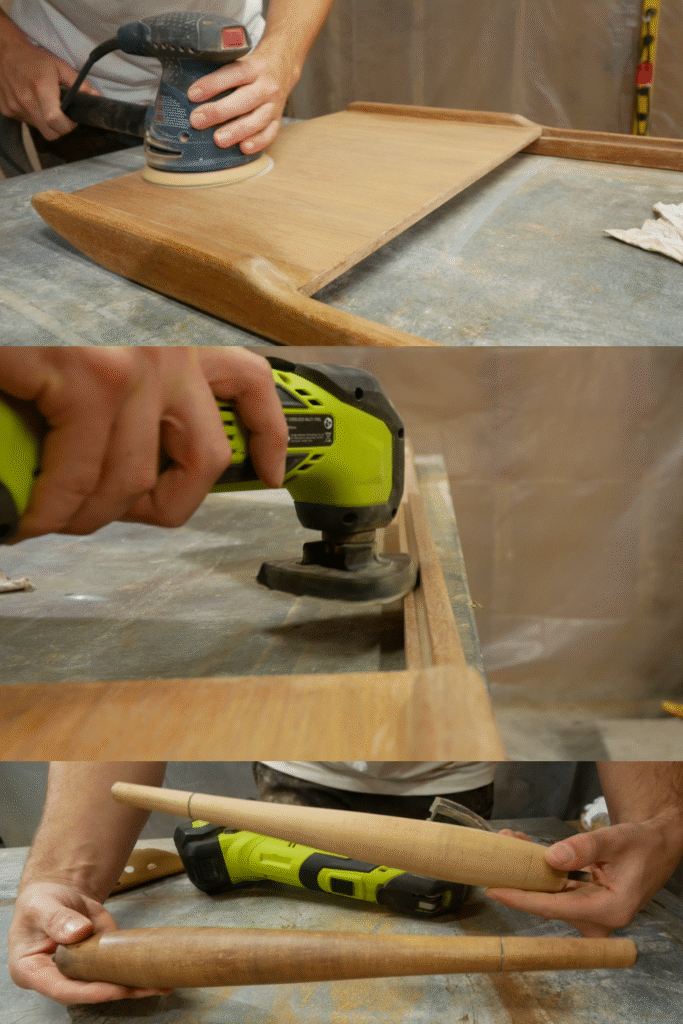
Once the paint was gone, I moved on to sanding. I started with 150 grit using my random orbital sander and worked my way up to 220 grit for a smooth finish.
While sanding, I also tackled a dent in the wood. Using a heated tool (from a floor repair wax kit) and a damp rag, I applied heat and steam to lift the dent. After a final sanding, the wood looked nearly perfect again.
For curved areas like the round edges and legs, I used foam sanding attachments and an oscillating tool to get into tighter spots.
Step 4: Repairing Damage
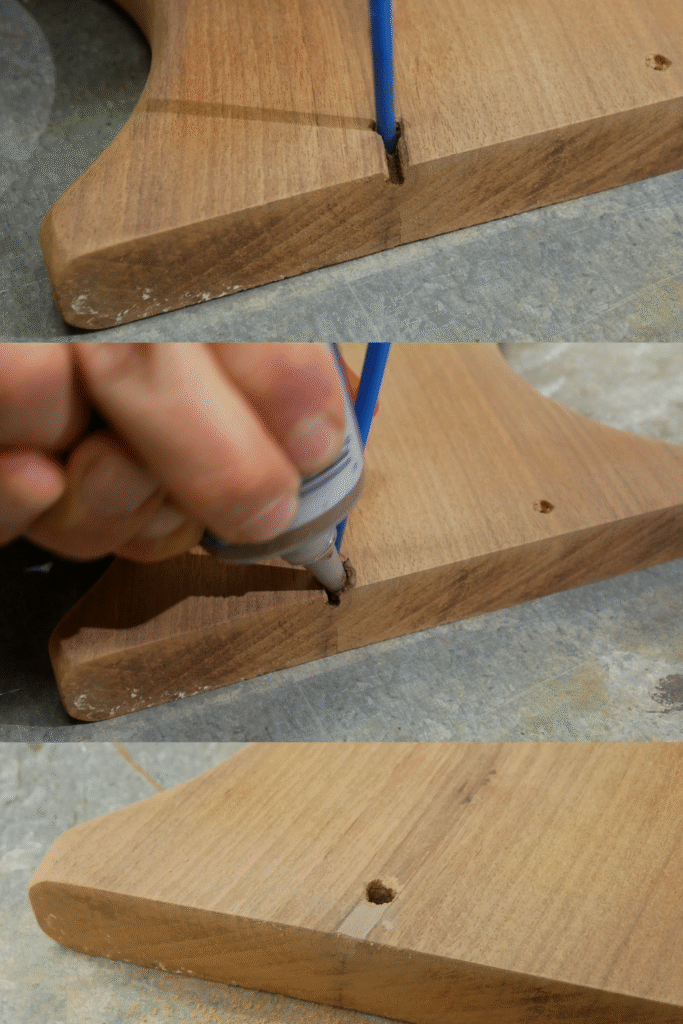
Underneath the table, a small walnut connector piece that supported the bottom tier had chipped near one of the screw holes. Since this was a hidden area, I repaired it with walnut wood filler, a quick fix that blended in well and restored strength to the joint.
Step 5: Staining
For color, I created a custom blend using General Finishes Gel Stain, about 75% Candlelite and 25% Antique Walnut. This gave the table a warm mid-century glow with just enough depth.
Before staining, I also touched up some lighter veneer edges on the top with a Mohawk touch-up marker, which helped even out the tone once the stain was applied.
Step 6: Finishing with Water-Based Polyurethane
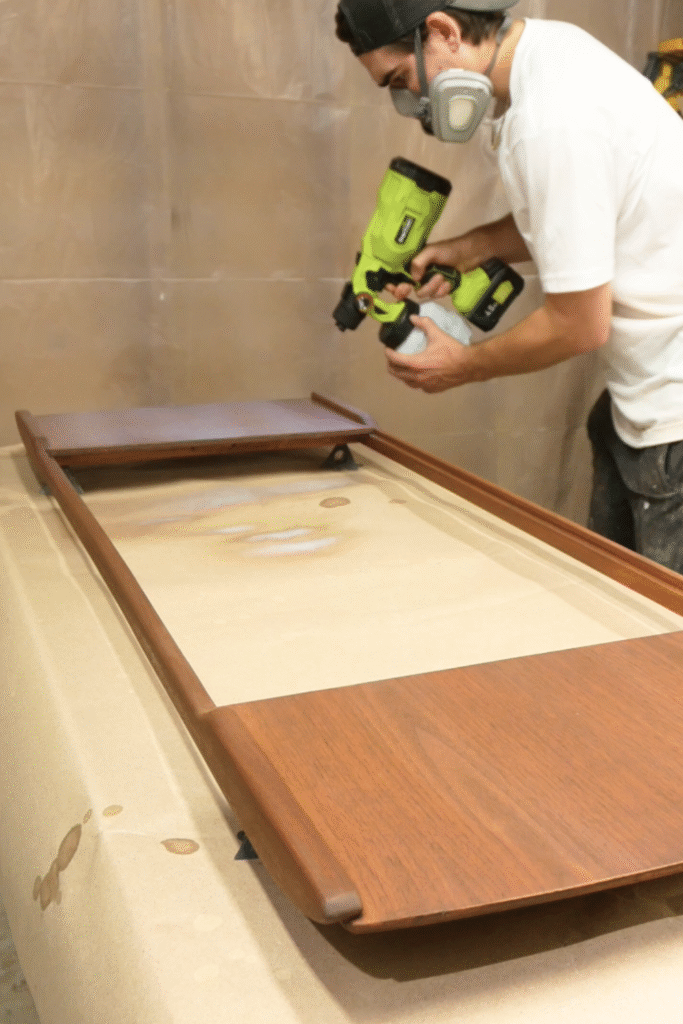
To protect the table, I sprayed Varathane Diamond Wood Finish (satin, water-based poly) using my SnapFresh cordless paint sprayer. Three coats gave it a smooth, durable finish without looking plasticky.
The water-based poly kept the walnut’s natural look while adding the durability needed for a coffee table that will actually be used.
Step 7: Cleaning Screws
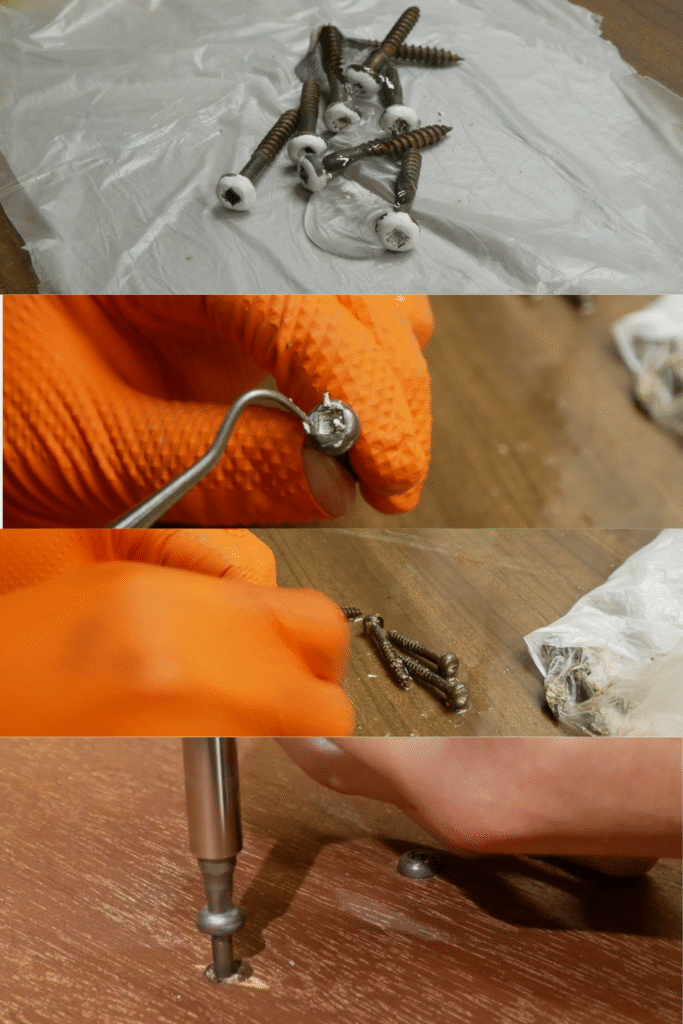
Even the screws had white paint on them, so I stripped them clean before reassembly. Small details like this make a big difference in restoring a piece to its original character.
Step 8: Reassembly
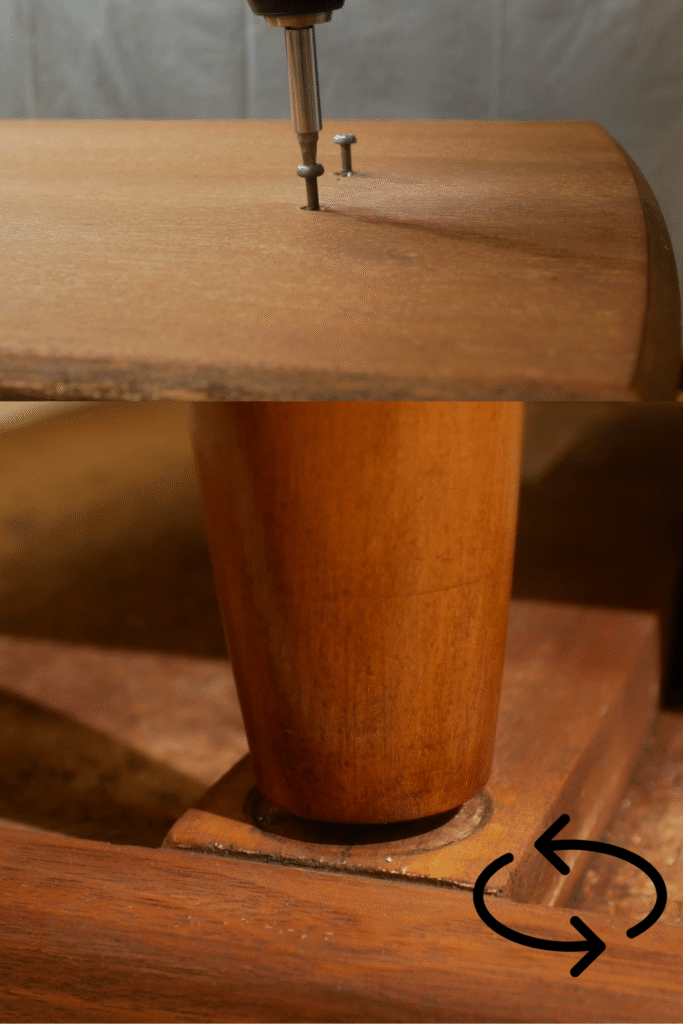
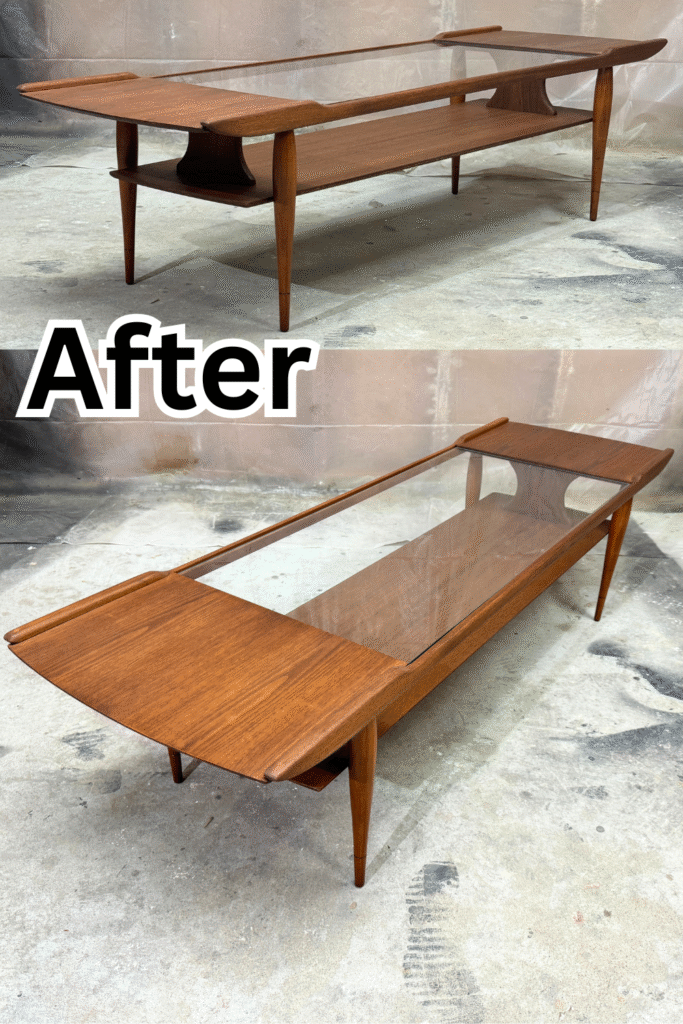
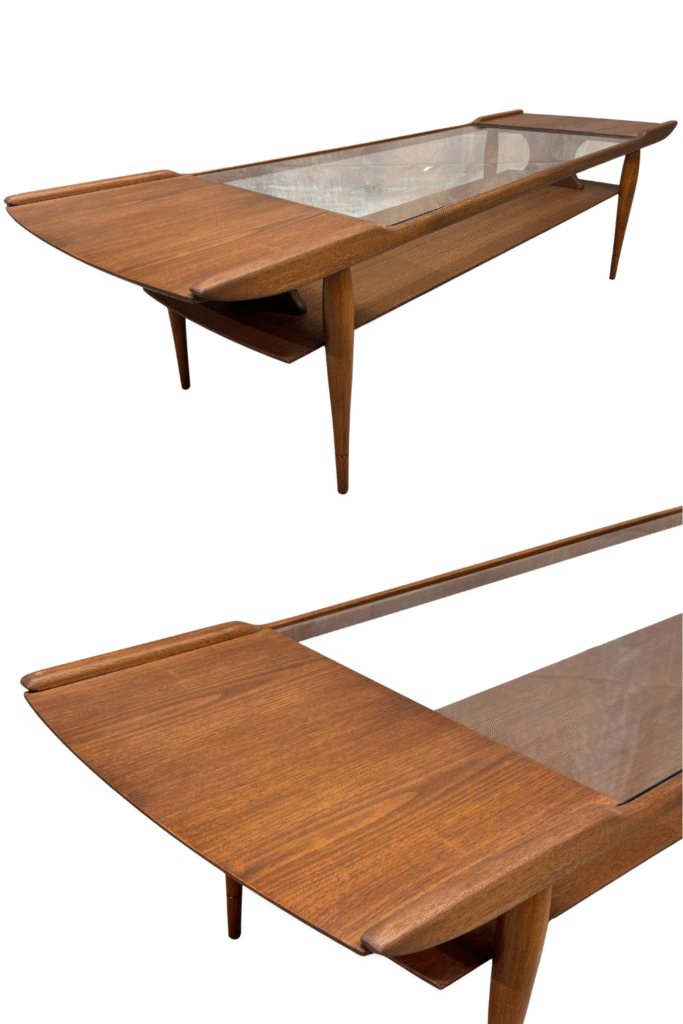
Finally, I reassembled the table, carefully reinstalling the legs, lower tier, and glass insert. With the white paint gone and the walnut wood glowing, this mid-century piece looked completely transformed.
The Final Reveal
🎥 Watch the Full Restoration on YouTube
See the full process here: How I Stripped Paint from a Walnut Mid Century Coffee Table
🛠️ Products Used in This Restoration
SnapFresh Cordless Paint Sprayer – Used to apply water-based polyurethane finish
SnapFresh Cordless Impact Drill – Handy for disassembly and reassembly work
SnapFresh Cordless Oscillating Tool – Perfect for sanding in tight areas and corners
SnapFresh Mini Cutter – Compact cutting tool for detail adjustments
Varathane Water-Based Poly – Clear satin protective topcoat
BOSCH Random Orbital Sander – Smooth sanding for larger surfaces
Bahco Carbide Scraper – My go-to scraper for tough paint removal
General Finishes Gel Stain – Rich gel stain for color depth (Candlelite + Antique Walnut blend)
Sanding Pad – Flexible pad for rounded edges and legs
3M Performance Paint Project Respirator – Essential protection while stripping and spraying finishes
Steel Wool 0000 – Ultra-fine for cleaning residue and final touch-ups
Lead Test Kit – Always test before stripping painted furniture
This project is a perfect example of why painted mid-century modern pieces are always worth a second look. With some patience and the right tools, you can uncover the beautiful wood and craftsmanship that makes these designs timeless.

